
5 Ways to Customize WordPress Password Protected Pages
Have you ever thought about how to lock your house against burglars? Naturally there are lots of ways to do so. Securing your website content is similar to doing this.
Basically, WordPress has a default password protection feature which is probably the first thing that comes to mind. Actually it’s perfect for basic security needs, but if you need to customize, you will face a lot of limitations.
But why customize password protected pages in WordPress in the first place?
For example, if you want to have a page or a post of your WordPress blog to be visible only to a selected number of clients/members, you should go for the password protection feature.
This is also true for limiting the viewers of a page in your WordPress website.
When you want to customize the password-protected pages of your website, you actually want to change their design and layout, making them more appealing, professional, and user-engaging, depending on your type of business.
In WordPress, there are various ways to achieve this, all through using specific plugins that will boost your experience regarding protection and customization. There are a number of available ones on the market.
How to Customize WordPress Password Protected Pages
In this article, we go over 4 of them to see how they function and can help us achieve our goal.
Setting Passwords Using the WordPress Built-in Function
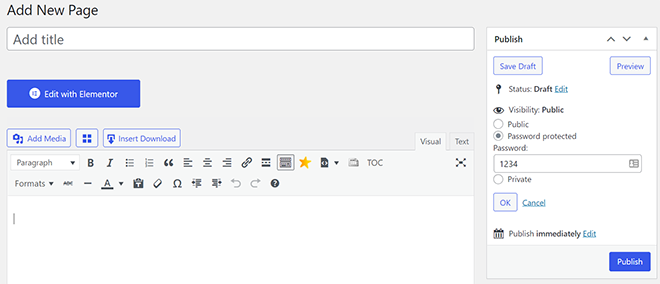
Go to your admin dashboard. Under the Pages or Posts section, find the page you want to protect and click on it.
Then from the top right corner, under the Publish section, you will see the Visibility option.
Click on “Edit” and then select the “Password protected” option.
Type whatever you want in the relevant field and press OK.
At the end, click on the Update button to save the process.
Password Protect WordPress (PPWP) Plugin
The built-in function has some backdrops. For example, you have to unlock the protected pages one by one, or you can’t protect your entire website. Most importantly, you have to use coding in order to customize your pages.
Password Protect WordPress plugin is a much-better-to-use option.
Using this plugin, you can easily get your password-protected pages up and running, alongside the ability to customize your content. You can also restrict the access of some pages for some members.
Regarding the advanced features of the Password Protect WordPress plugin, we can mention the protection of all types of content. You can protect your entire website or your single pages using multiple passwords. Besides, PPWP is compatible with WordPress Customizer which will expand your customization abilities.
Password Protect WordPress plugin is an all-in-one solution, arming you with everything you need. With this plugin, you won’t have to install different plugins to serve different relevant purposes.
In order to set up passwords for your single pages, you need to go to Pages from your dashboard and click on Edit. Next, on the right sidebar, you can see the “Password Protect WordPress” section.
After setting your password, click on Submit and you’re ready to go.
This is what you can do with PPWP Lite. With its pro version, managing various passwords at the same time, along with some other advanced features such as restricting passwords according to time, or protecting parent-child pages are also possible.
In case you need to hide your entire website from public access, you need to go for the “Password Protect Entire Site” option from the Password Protect WordPress > Sitewide Protection directory.
CSS Hero
You definitely know that when enabling password protection for your WordPress website, the style of your page comes from your site’s theme.
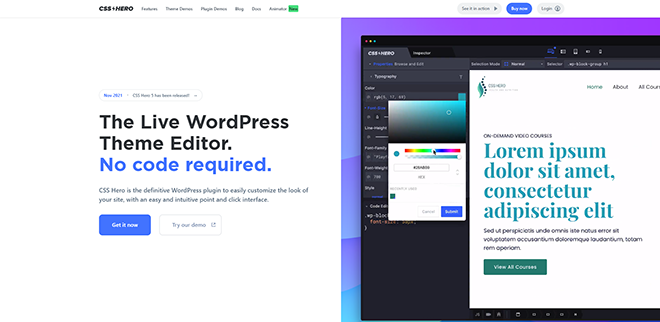
In order to customize, you should basically go for the coding, but the good news is that with some tools such as CSS Hero you won’t need to do that.
After installing and activating the CSS Hero plugin, you can see its option added to the WordPress admin on the top. For customizing, click on ‘Customize with CSS Hero’. Here you do a lot of things, ranging from changing the background colors and adding different forms, to editing spacing and bordering your pages.
After you make all the changes, you just need to click on ‘Save & Publish’ button at the bottom.
Now everything is applied.
There is only one deficiency regarding CSS Hero and that is its limitations in flexibility in comparison to famous page builder plugins.
SeedProd
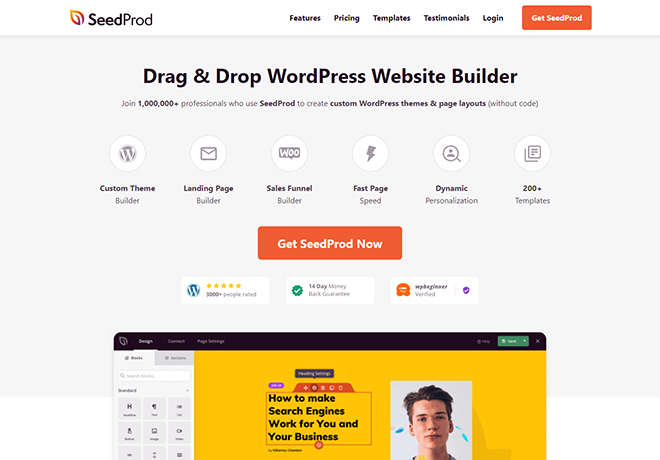
SeedProd may be one of the easiest ways for customizing password-protected pages.
SeedProd is available both in lite and pro version. The latter gives you advanced features alongside premium templates and customization possibilities.
Naturally the first step is to install and activate the plugin.
Then you can access the plugin from your WordPress dashboard, from the SeedProd > Landing Pages directory. There you can proceed and add a new custom password-protected landing page.
With this plugin, you can both password-protect some pages or your entire website.
In order to set up a page, you need to click on the ‘Set up a Coming Soon Page’ button.
Then you should select your page templates from the ones available for you.
Go ahead and hover over any template you want to use and click the orange checkmark button.
After that, you can customize your template using the SeedProd drag-and-drop page builder.
You can change the background color, fonts, texts, images, etc. with this page builder plugin.
Also, you have access to many block options which enable you to add a password form in order to protect your content.
Besides, you can use SeedProd for collecting emails from your users, because this plugin is integrated with various email marketing services.
MemberPress
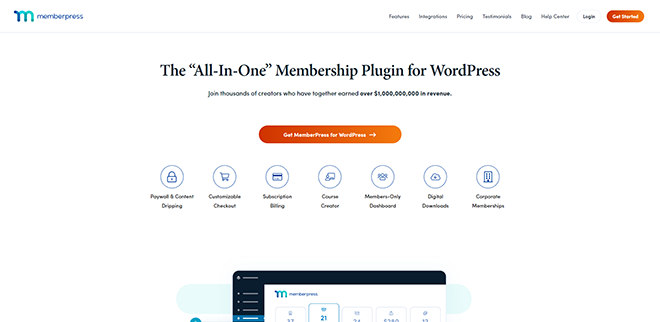
Setting passwords for your different website sections is possible with MemberPress. You can set restrictions for different sets of users, which is a huge perk if you are running a membership website.
Using this WordPress membership plugin allows you to define multiple membership levels and different rules to let only selected members have access to your content.
In order to add memberships to your website, from your WordPress dashboard navigate to MemberPress > Memberships directory and click on ‘Add New’.
Then you can enter a name, add a description, or set a price for example.
In the end, you click on ‘Publish’ to save and apply everything.
This password protection plugin is actually one of the best on the market, making you go without any further plugins to get your things straight.
Conclusion
Customizing protected pages in WordPress may seem a little intimidating, but it’s actually not if you use the right plugin for it
We introduced some of the best plugins that will help you in this task, making everything easier than before.
With them, you will basically do without coding and stuff, making things right just using the builder interface.
We hope this article has been helpful for you.
It would be appreciated if you share your thoughts with us in the comments section. Thank you for reading this.
Recommended Posts

The Ultimate Guide to Effortlessly Automate SMS Notifications on Your WordPress Website in 2025
April 4, 2025

How to Create an Event Booking WordPress Website in 2025
February 24, 2025

How to Add an RSVP to Your WordPress Site in 2025
February 23, 2025
