
Translate with WPML Plugin
This guide explains how to translate Modern Events Calendar content with WPML. You can translate events, pages, custom post types, taxonomies, and other MEC content from the WordPress dashboard.
How to Translate with WPML Plugin
MEC works with WPML to support multilingual event websites. Follow the steps below to configure WPML and translate your events.
Getting Started
Make sure the following WPML components are installed and active alongside MEC:
We recommend using WPML’s Advanced Translation Editor. To review the editor options, go to WPML → Settings.
WPML Translation Tools
WPML’s Advanced Translation Editor (ATE) includes automatic translation, translation memory, a glossary, spell checking, and a clean translation interface.
Besides translating content yourself, you can also:
- Send your content to a professional translation service.
- Create a team of local translators. This is done in WPML → Settings → Translators.
Translate Taxonomies in MEC
First, make sure WPML String Translation is installed and active.
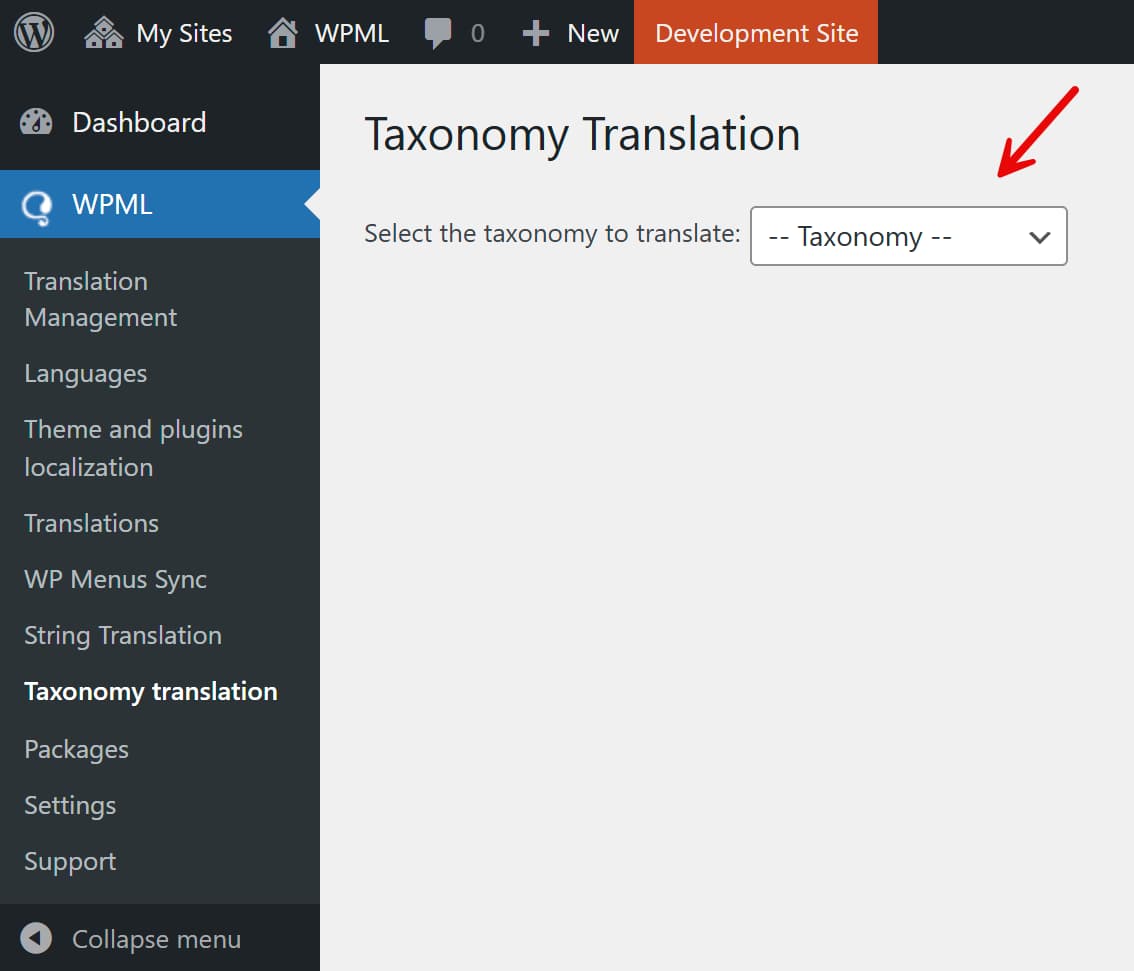
WPML normally translates taxonomies while you translate an event. If you need to translate a taxonomy manually, open the Taxonomy tab in WPML → Translations. To translate whole taxonomies at once, such as all MEC categories or locations, use the Taxonomies section of the Translations Dashboard.
1. In the Taxonomy tab, use the drop-down menu to choose the MEC taxonomy you want to translate.
2. Select the taxonomy terms you want to translate.
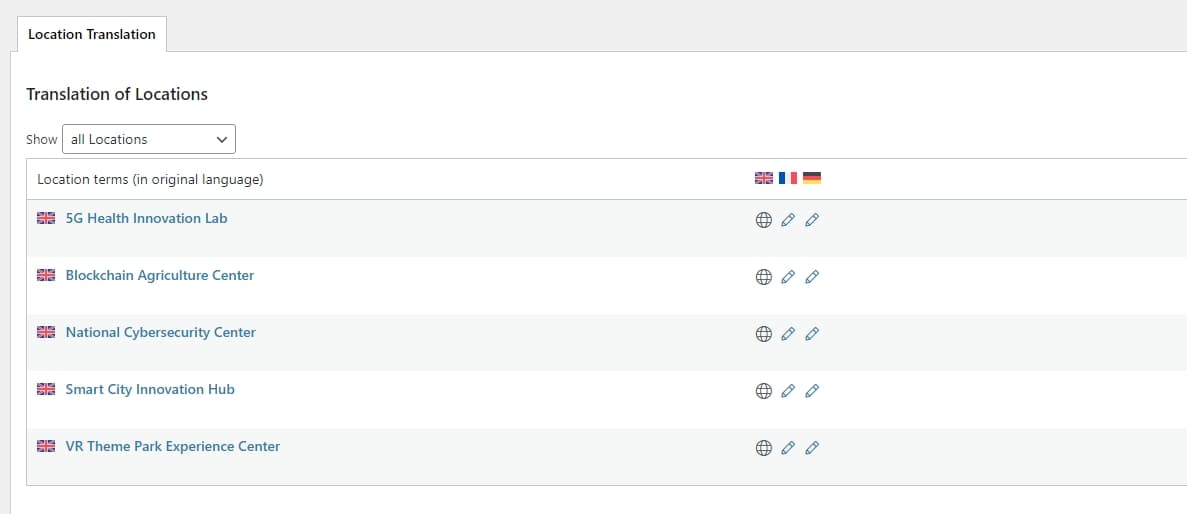
3. Click the pencil icon for the target language.
4. In the Term Translation window, review the original term and enter its translation.
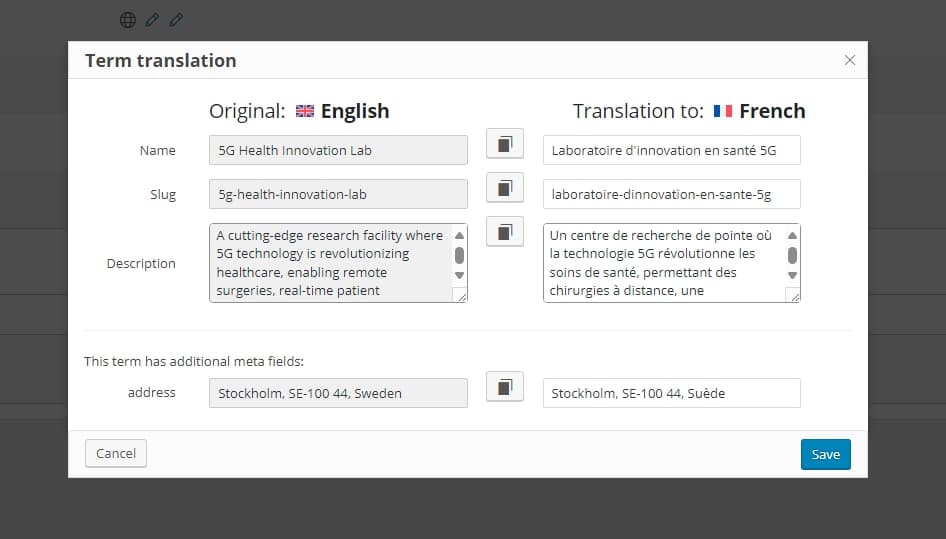
5. Click Save.
6. Repeat these steps for any remaining taxonomies or terms.
Translating Your Events
WPML’s Advanced Translation Editor (ATE) helps you translate content faster with automatic translation, translation memory, a glossary, spell checking, and an interface that keeps HTML out of the way.
To use it with MEC, install and activate:
- WPML Multilingual CMS
- WPML String Translation
Both are included in the Multilingual CMS and Multilingual Agency plans.
The Advanced Translation Editor is selected by default in the WPML setup wizard. If you need to review this setting, go to WPML → Settings and find the Translation Editor options.
To translate an MEC event, go to WPML → Translations to open the Translations Dashboard. The process has two steps:
Select Events for Translation
The dashboard groups translatable content by type. Open Events to view your MEC events.
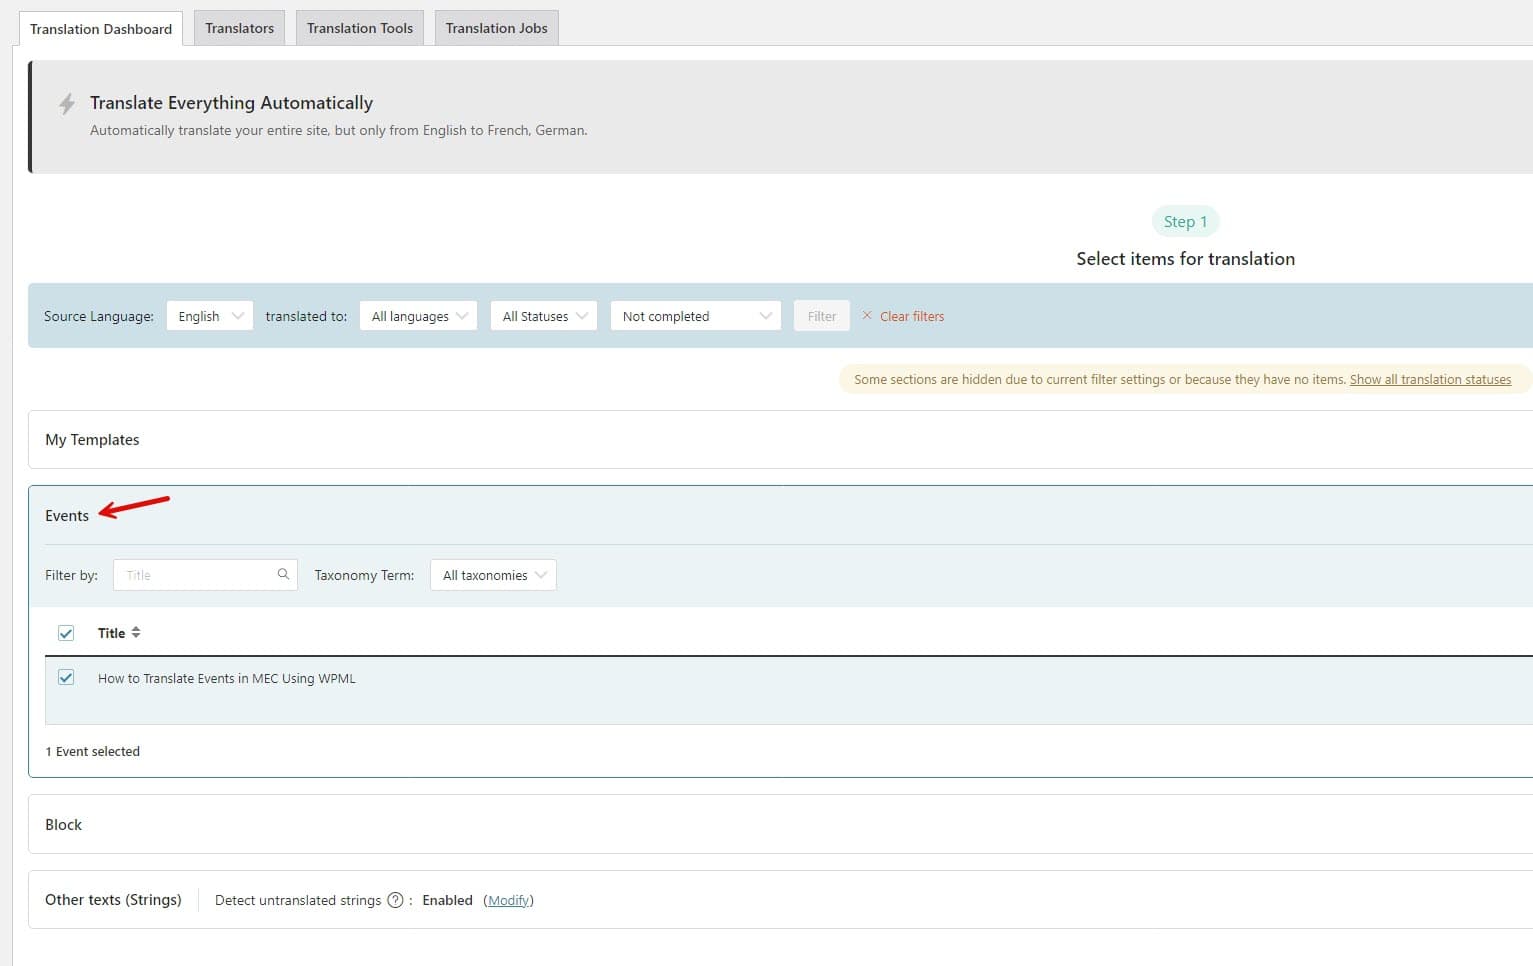
Select one or more events, then choose how you want to translate them.
Translate Your Content
Choose Translate automatically, Translate myself, or assign the event to a translator. Automatic translation uses AI translation words. The Multilingual CMS plan includes 22,500 words, the Multilingual Agency plan includes 45,000 words, and Pay-As-You-Go includes 500 free words each month.
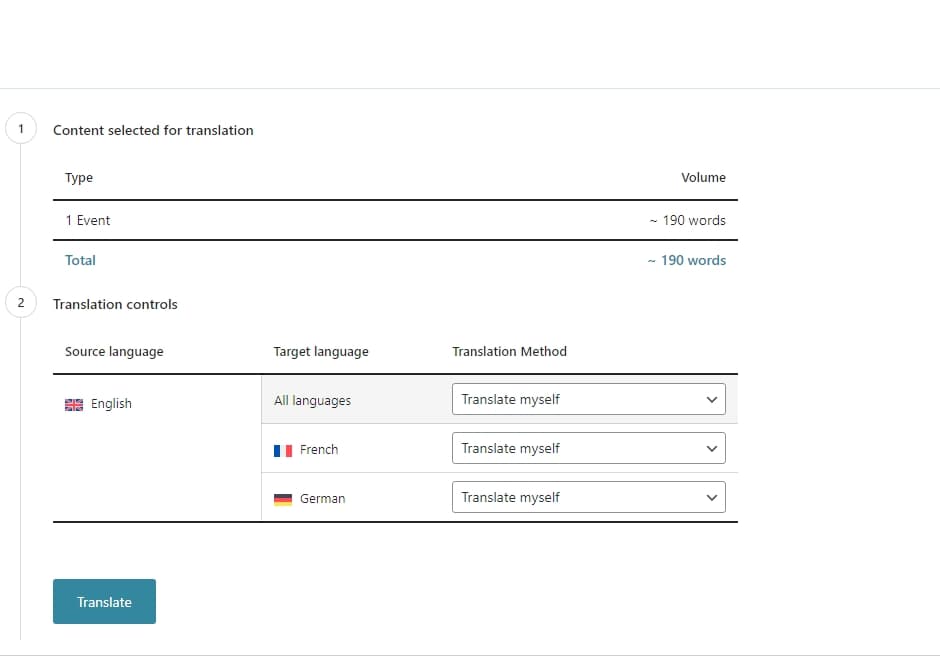
When you choose Translate myself and click the translate button, WPML opens the event in the Advanced Translation Editor.

Translate each segment into the target language. WPML displays the translation status as you work.
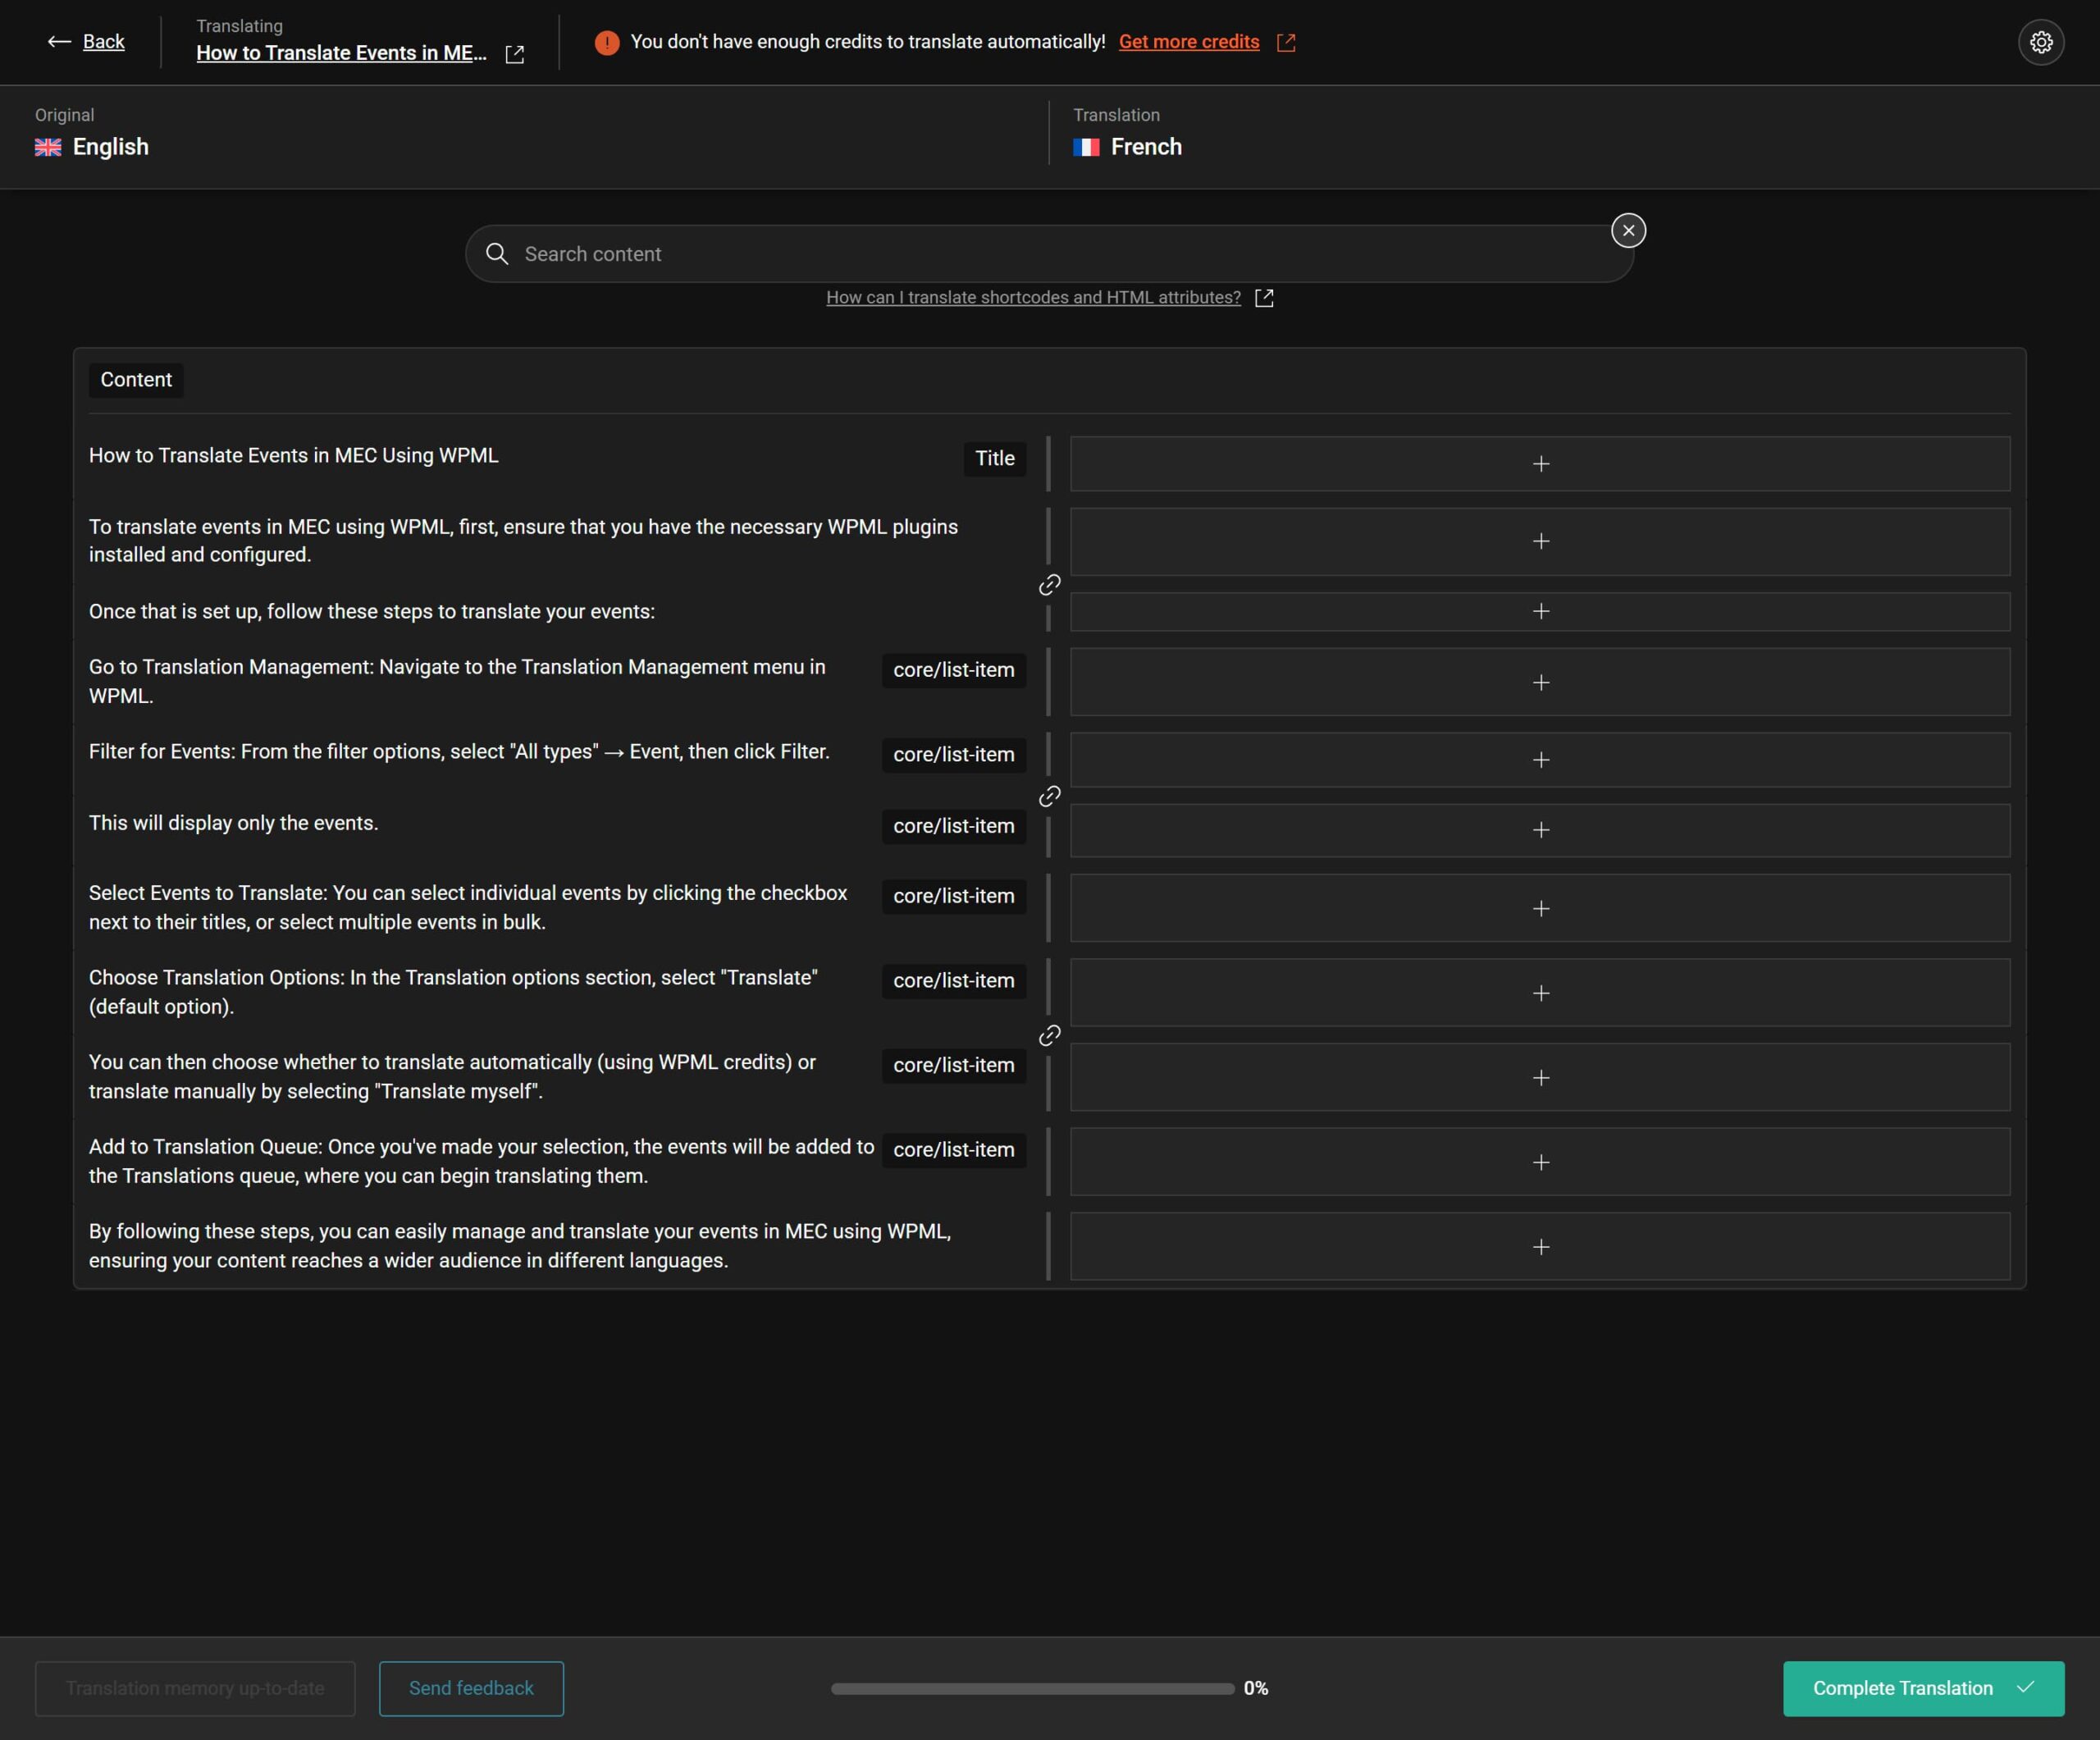
Enter the translation for each segment and confirm it with the checkmark. The progress indicator updates as you work.
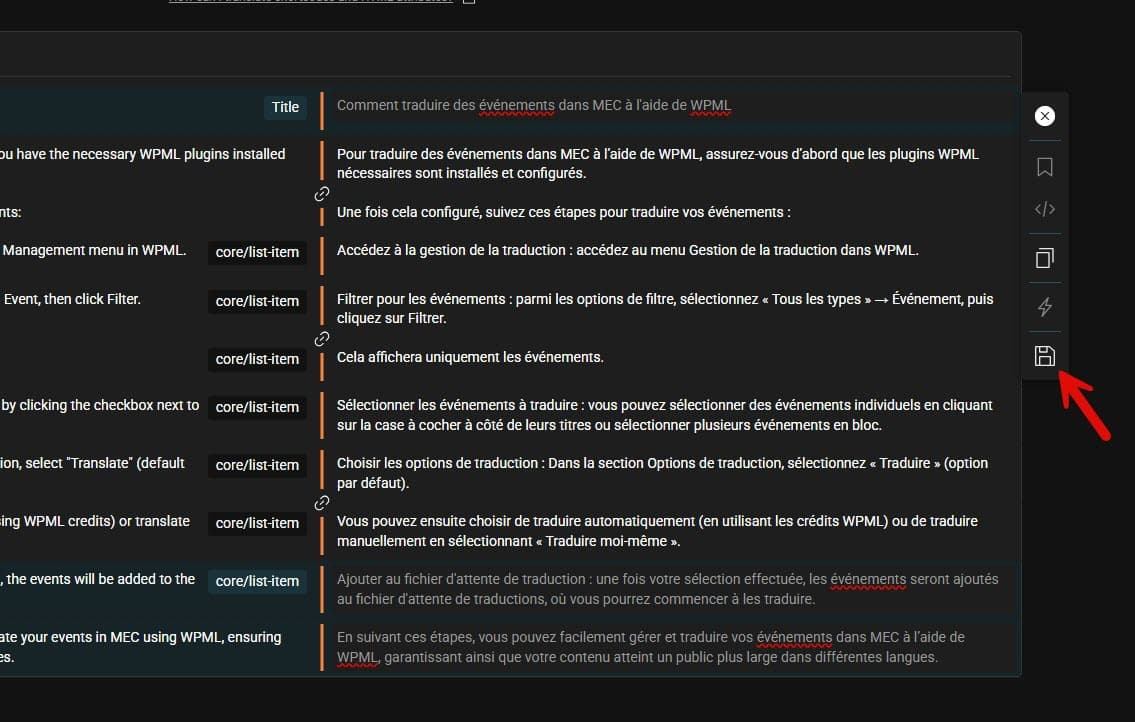
When the progress reaches 100%, click Complete Translation.

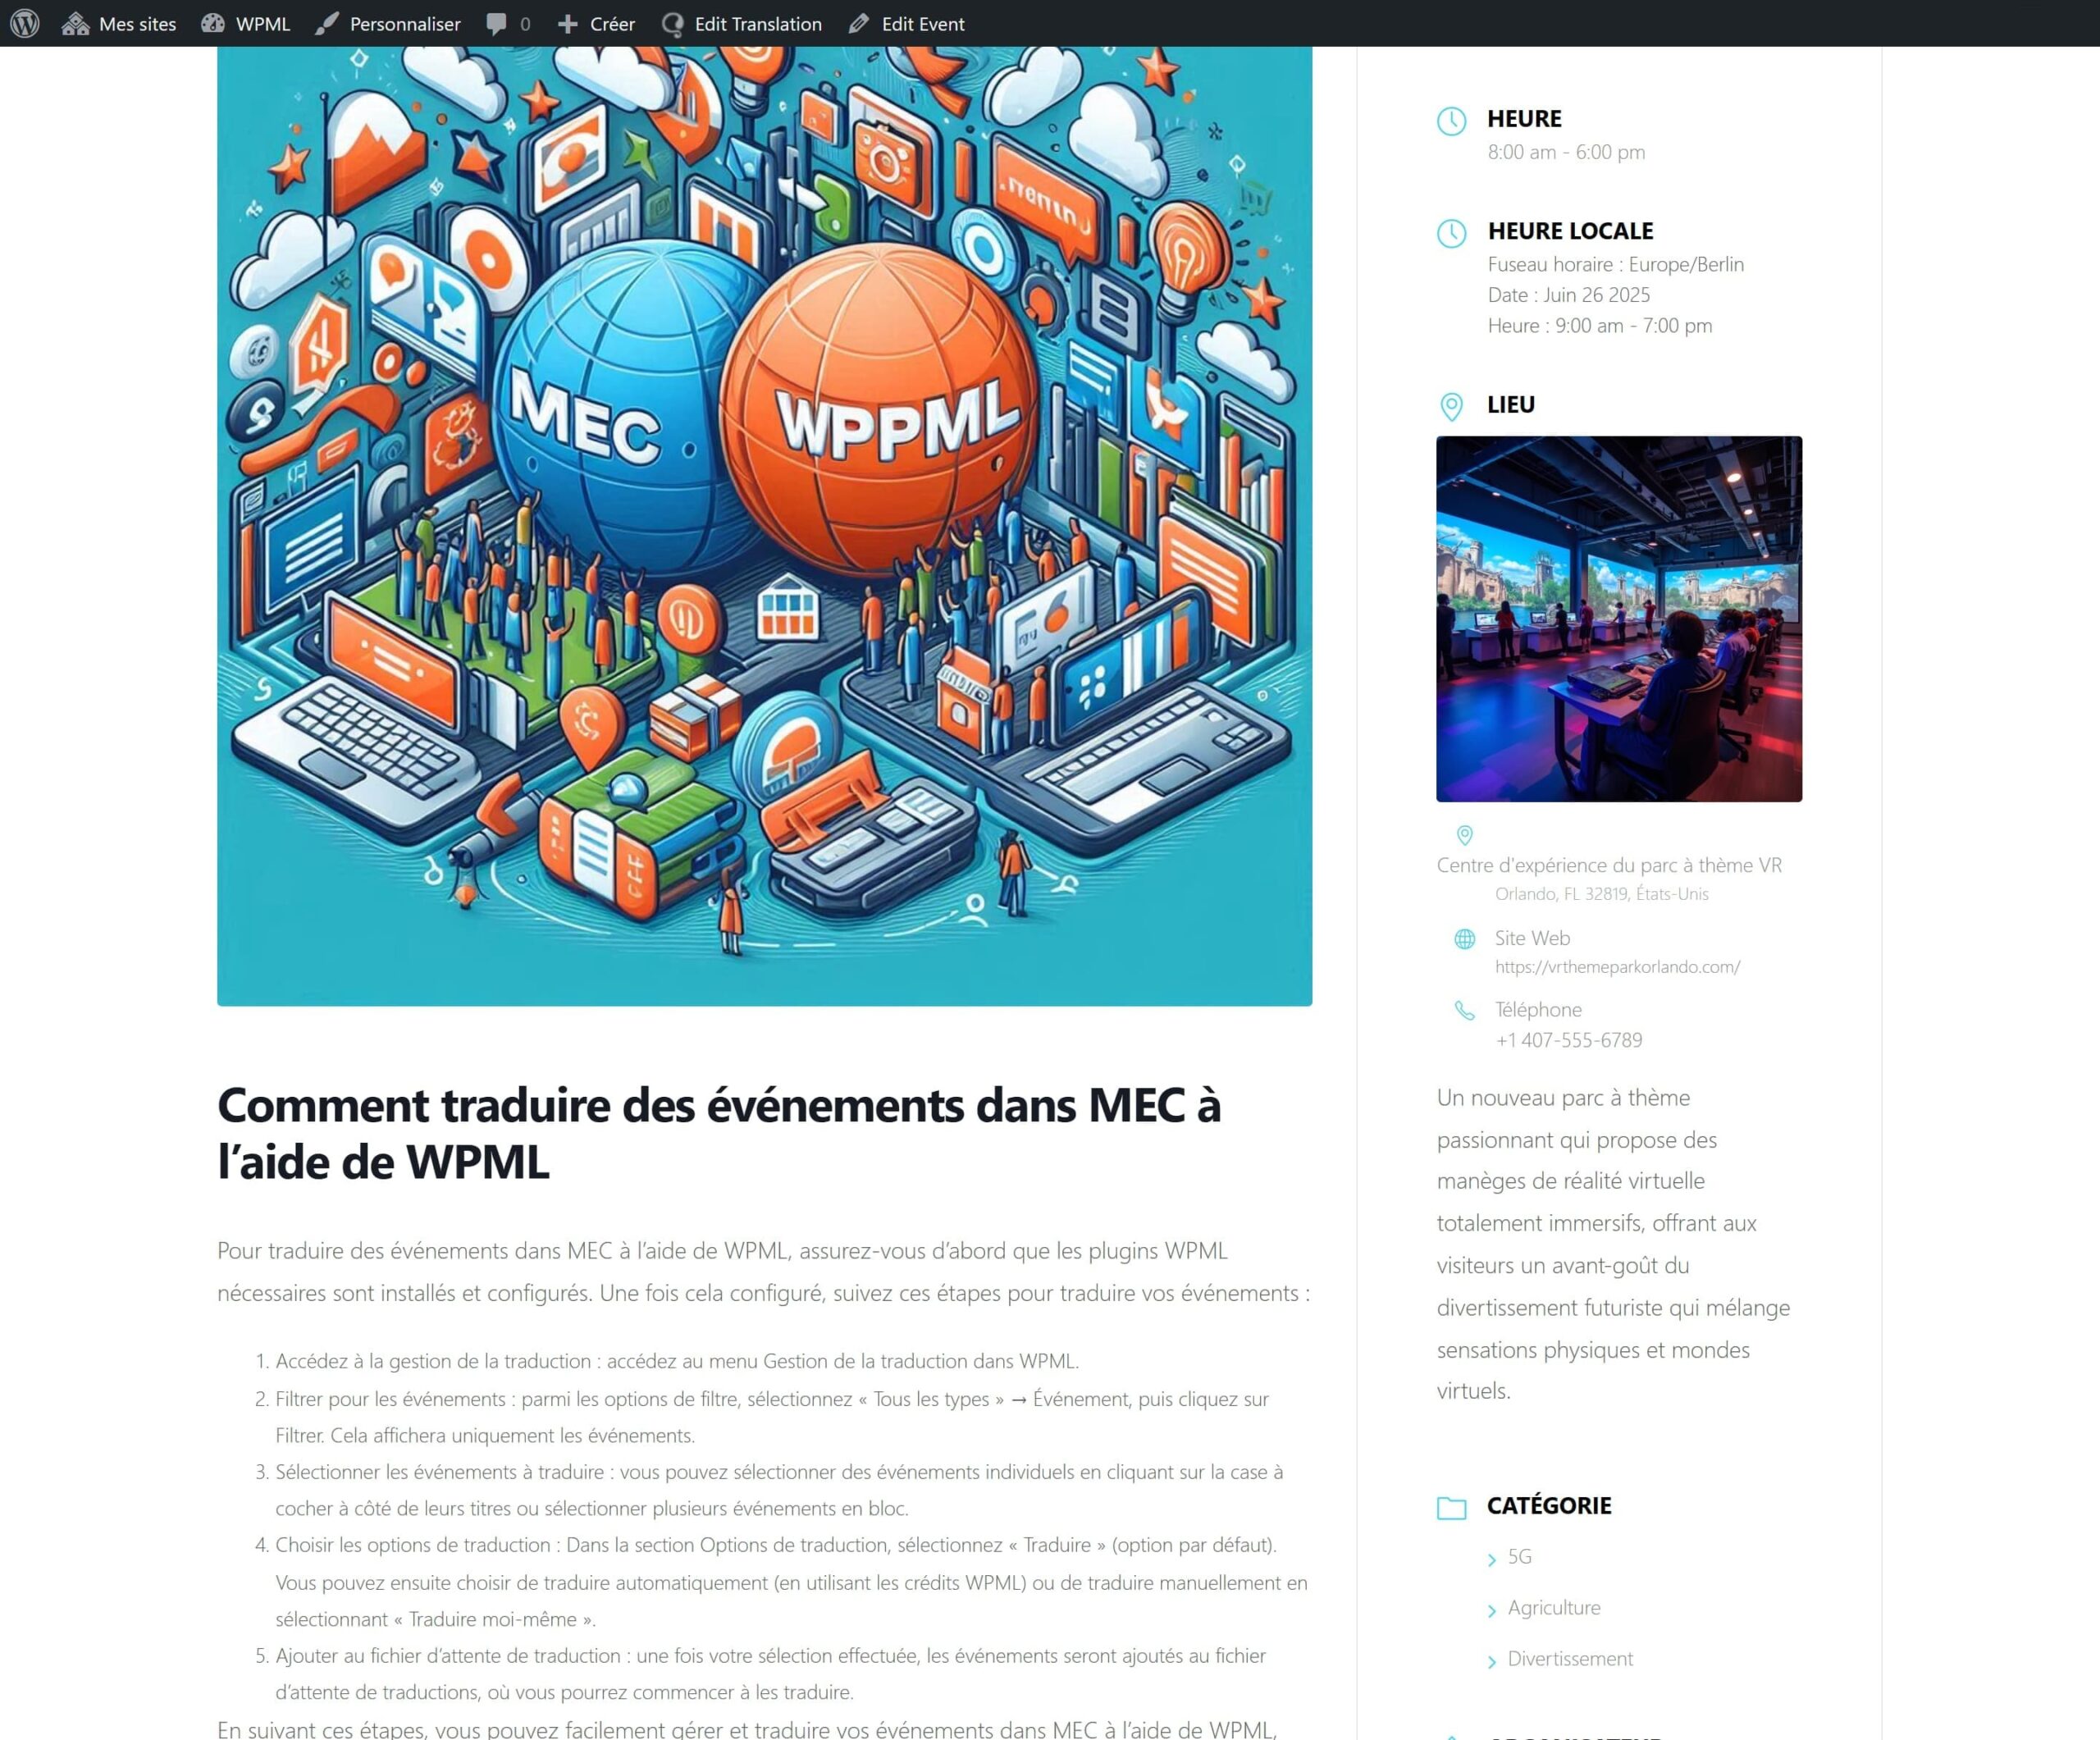
Return to the event and switch to the translated language to review the result. Check the event content as well as its categories, locations, organizers, and other translated modules.
For a closer look at WPML’s Advanced Translation Editor, watch the video below.
Need Help?
Date Localization
MEC uses WordPress’s date_i18n function for dates and month names. This means date localization depends on the WordPress language files installed on your site.
Make sure the correct .mo file is available in /wp-content/languages.
You can review localization settings in WPML → Settings. Type localization in the search box at the top of the page to find the relevant options.
See the WPML Getting Started Guide for more information.