


In this article, we will walk you through the process of installing and activating the Kata Themes and Kata Plus plugins.
Installing Kata Theme
Let’s start by installing the Kata theme. The process isn’t any different than any other theme. Go to Appearance > Theme in your WordPress dashboard and click on the Add New button on the top, then type Kata in the theme search box hit the install button, and activate the Kata theme.
Note: Kata theme is free and you can easily download it from the WordPress repository.

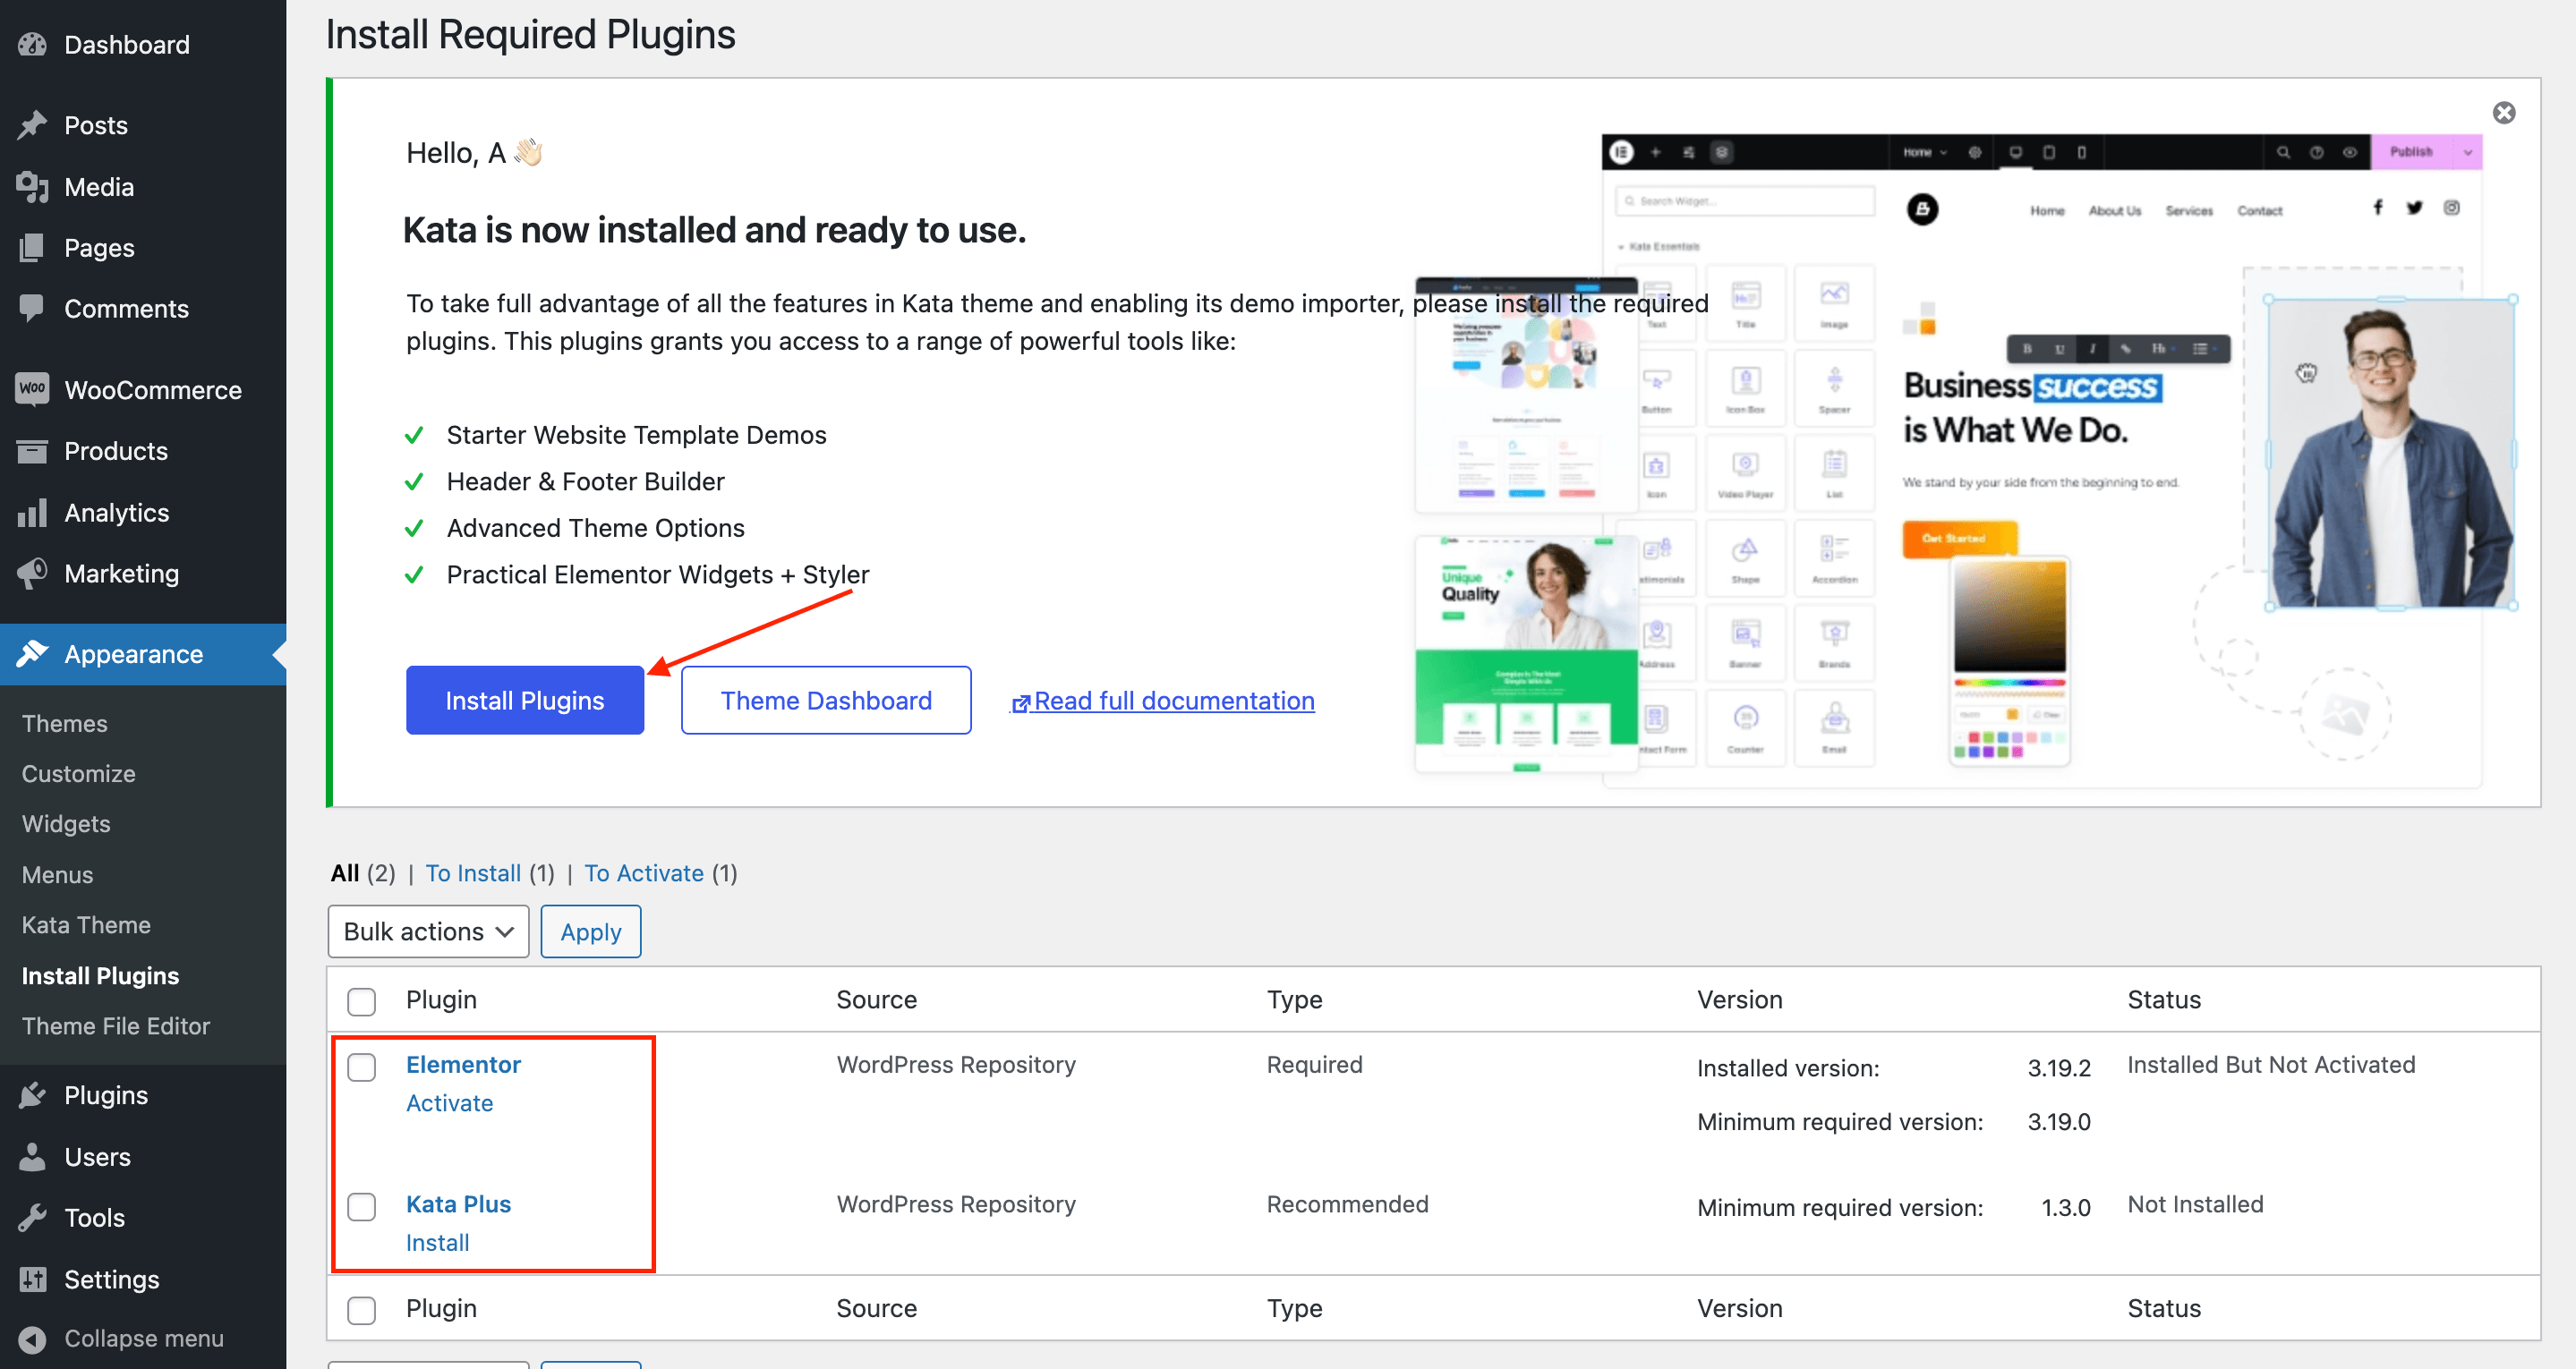
After the installation is completed, you will be redirected to a page to install the required plugins in order to work with the Kata theme. Hit the Install plugins button and install and activate the Elementor and Kata Plus plugins.
Installing the Kata Plus Pro plugin
By installing the Kata Plus Pro plugin, you can access new features that enhance the functionality of the Kata theme.
First of all, please head over to Webnus Account and log in with the email that you have purchased the Kata theme. Then, hit the dashboard button in the middle of the page.
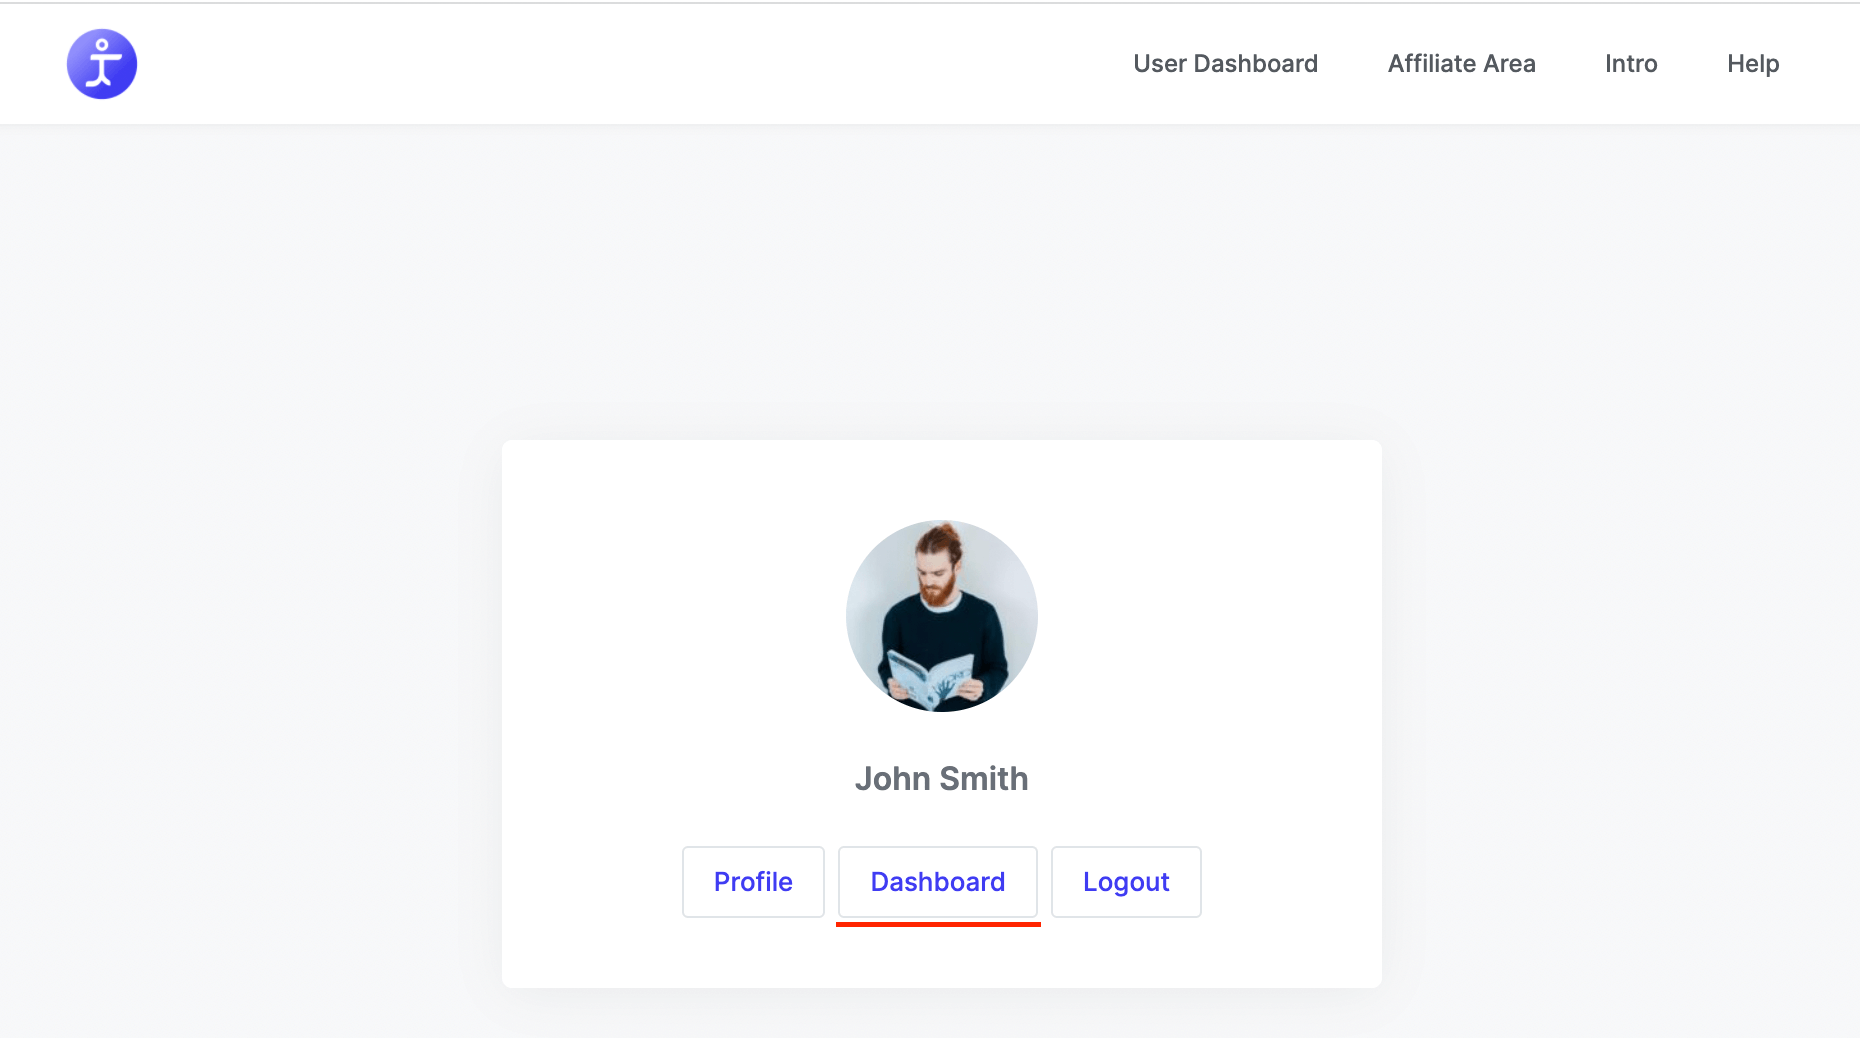
Now on this page, by hovering on the download button, you will see the list of options that you can download including the Kata theme, plugins, and even the whole package together. By clicking on each of them you can download your preferred option.

Please Note:
- To download the Kata theme installation file click on the kata.
- To download the Kata Child theme installation file click on the Kata-Child. also, you can download it here.
- To download the Kata Plus plugin installation file click on the Kata-Plus.
- To download the Kata Plus Pro plugin installation file click on the Kata-Plus-Pro.
To install the Kata Plus Pro plugin, go to the Plugins section and click on Add New. Then, select the Upload Plugin button and choose the Kata Plus Pro zip file that you downloaded from your Webnus Dashboard.

Now, hit the install button to start the installation of the Kata Plus Pro plugin. Once, the installation is completed click on the Activate Plugin button.

Activating the Kata Plus Pro plugin
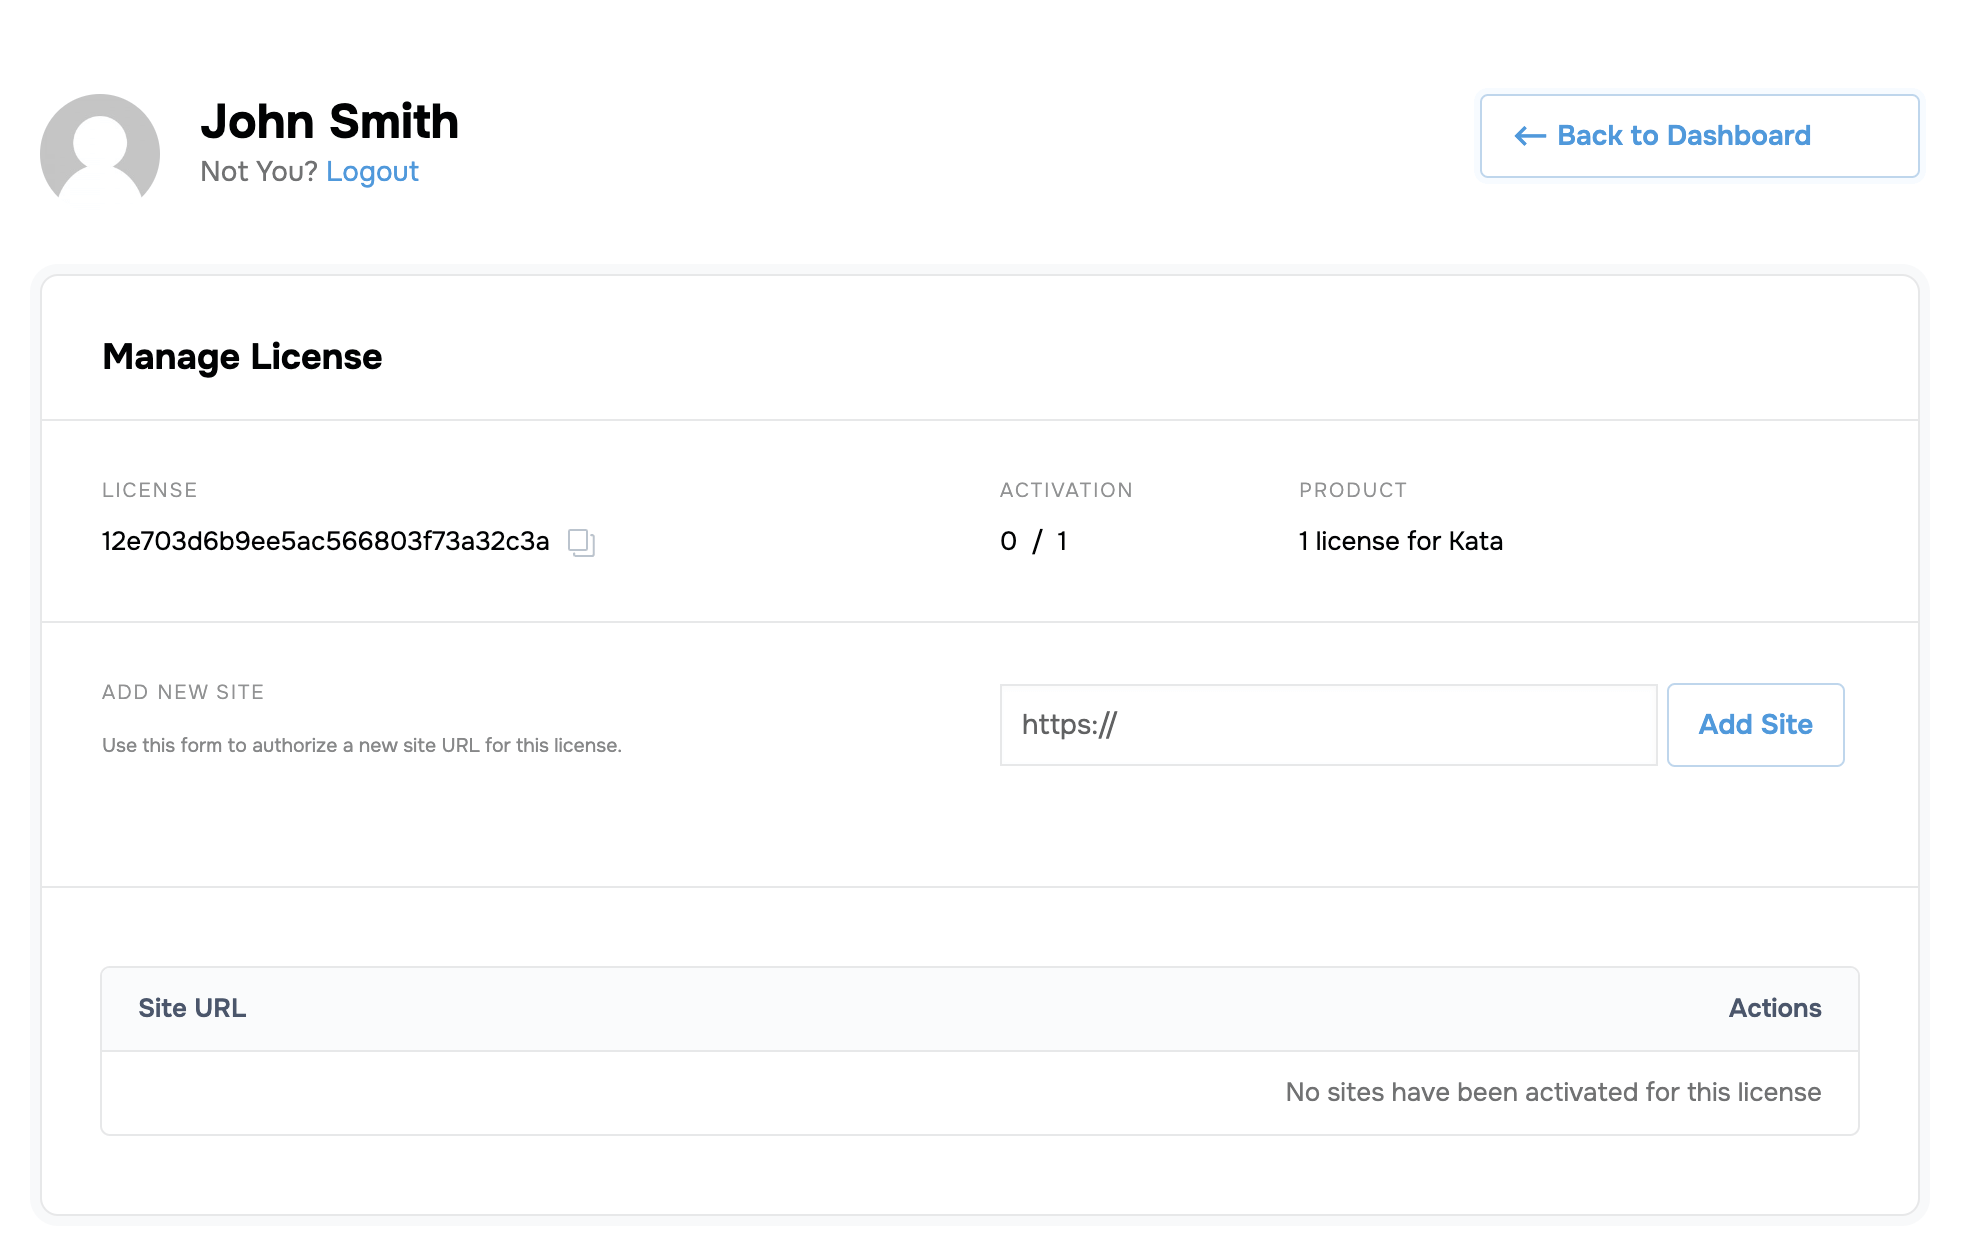
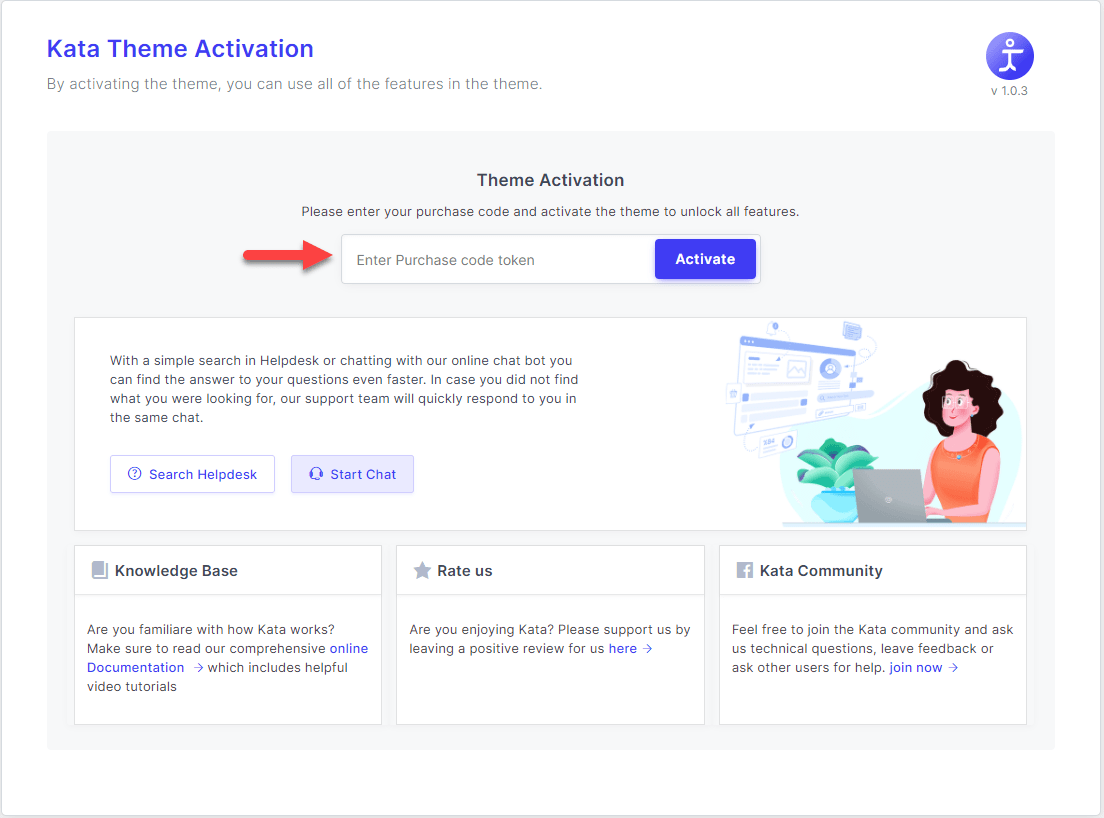
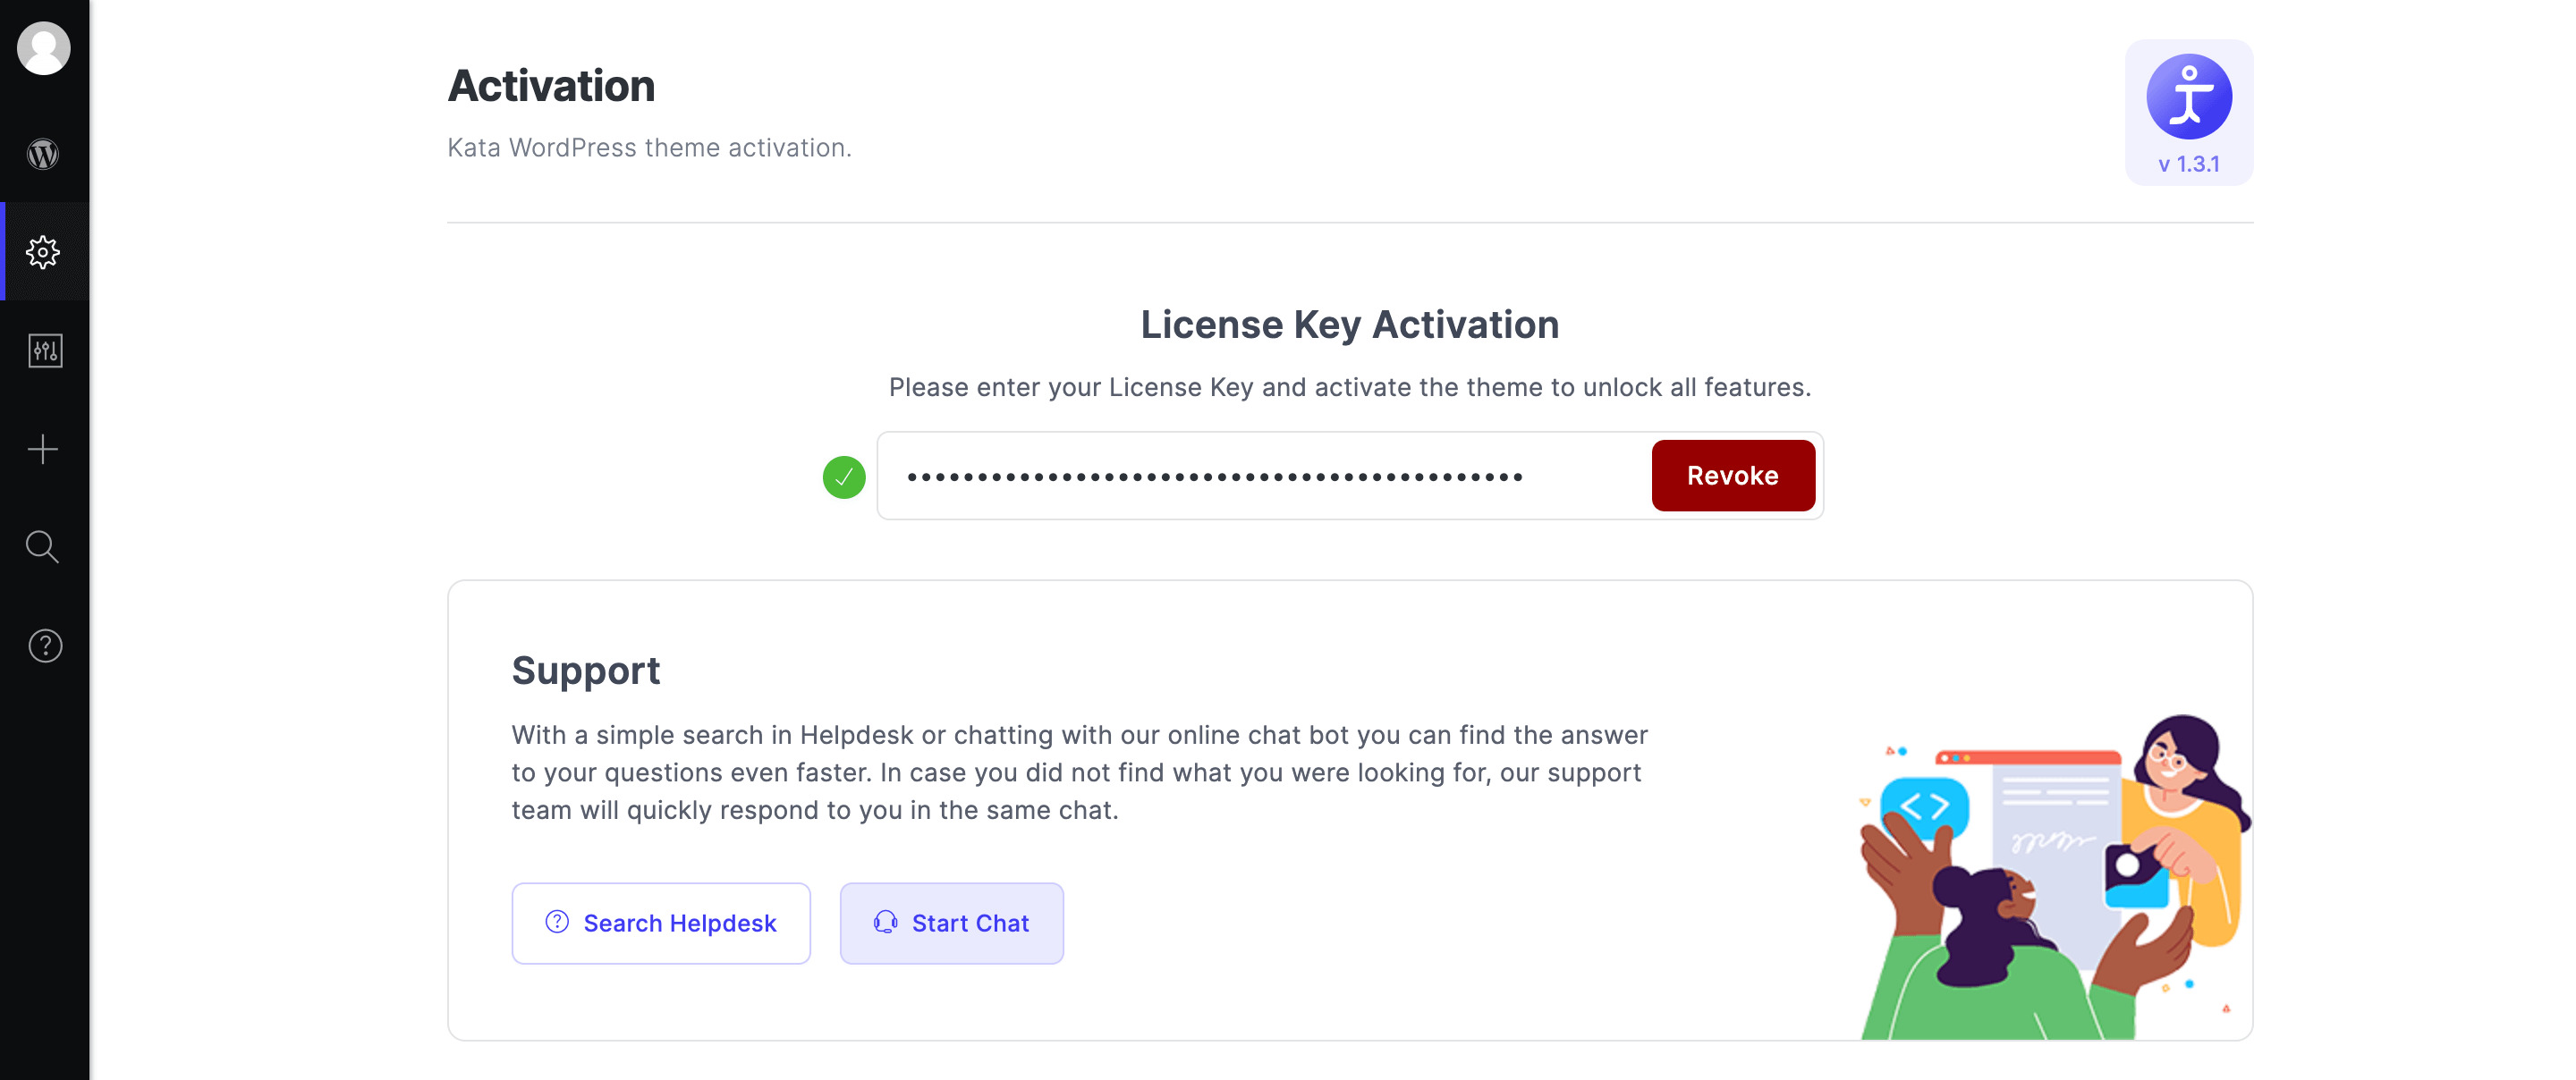
After you installed and activated the Kata Plus Pro plugin, you now need the activate the license. From your Webnus Dashboard, copy the license key, then navigate to your WordPress dashboard > Kata menu and paste your license key in the activation box.
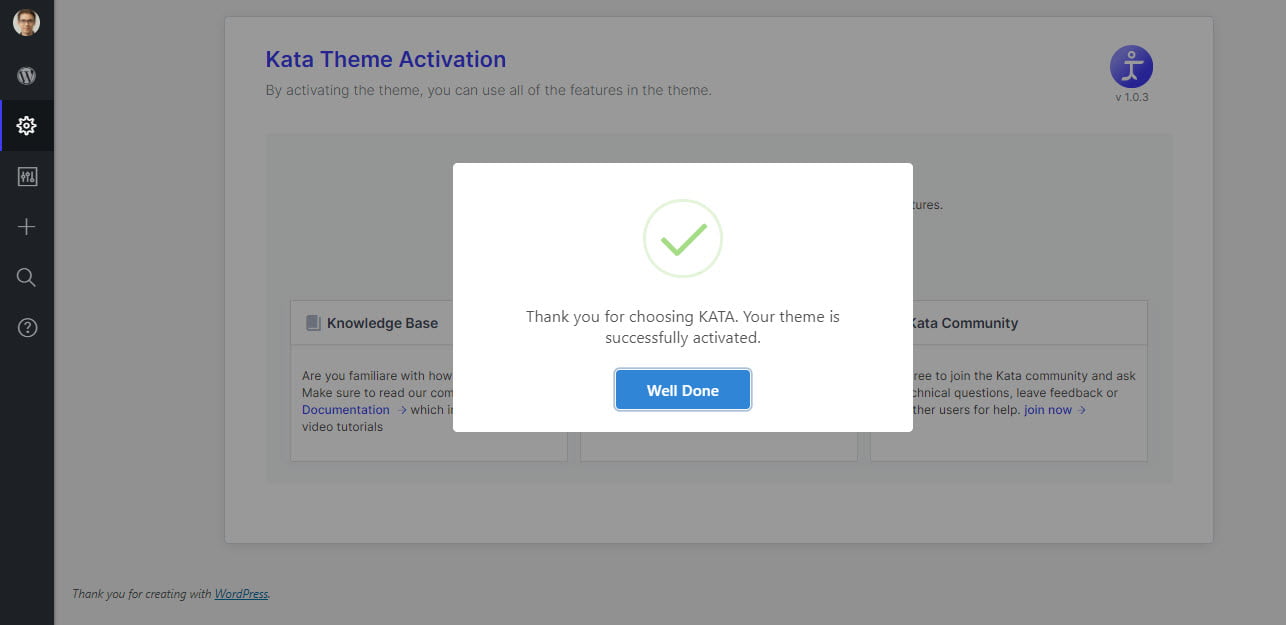
Now, click on the Activate button and your license for the Kata Plus Pro plugin will be activated.
Managing the Kata Plus Pro license website
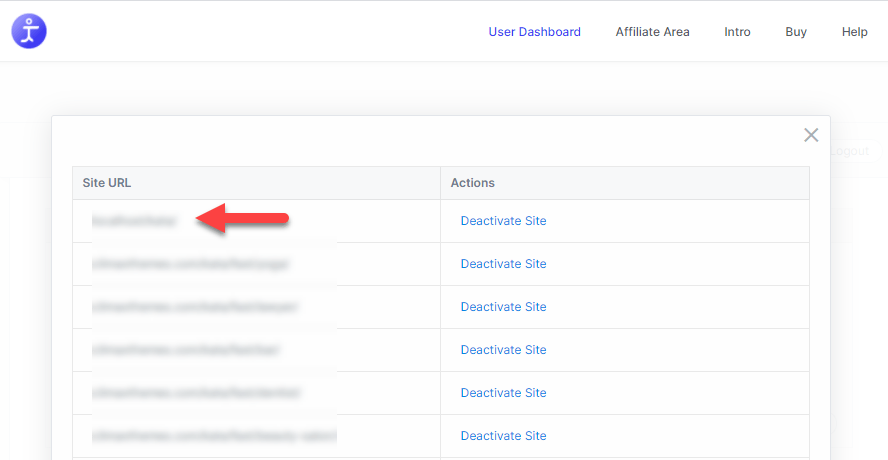
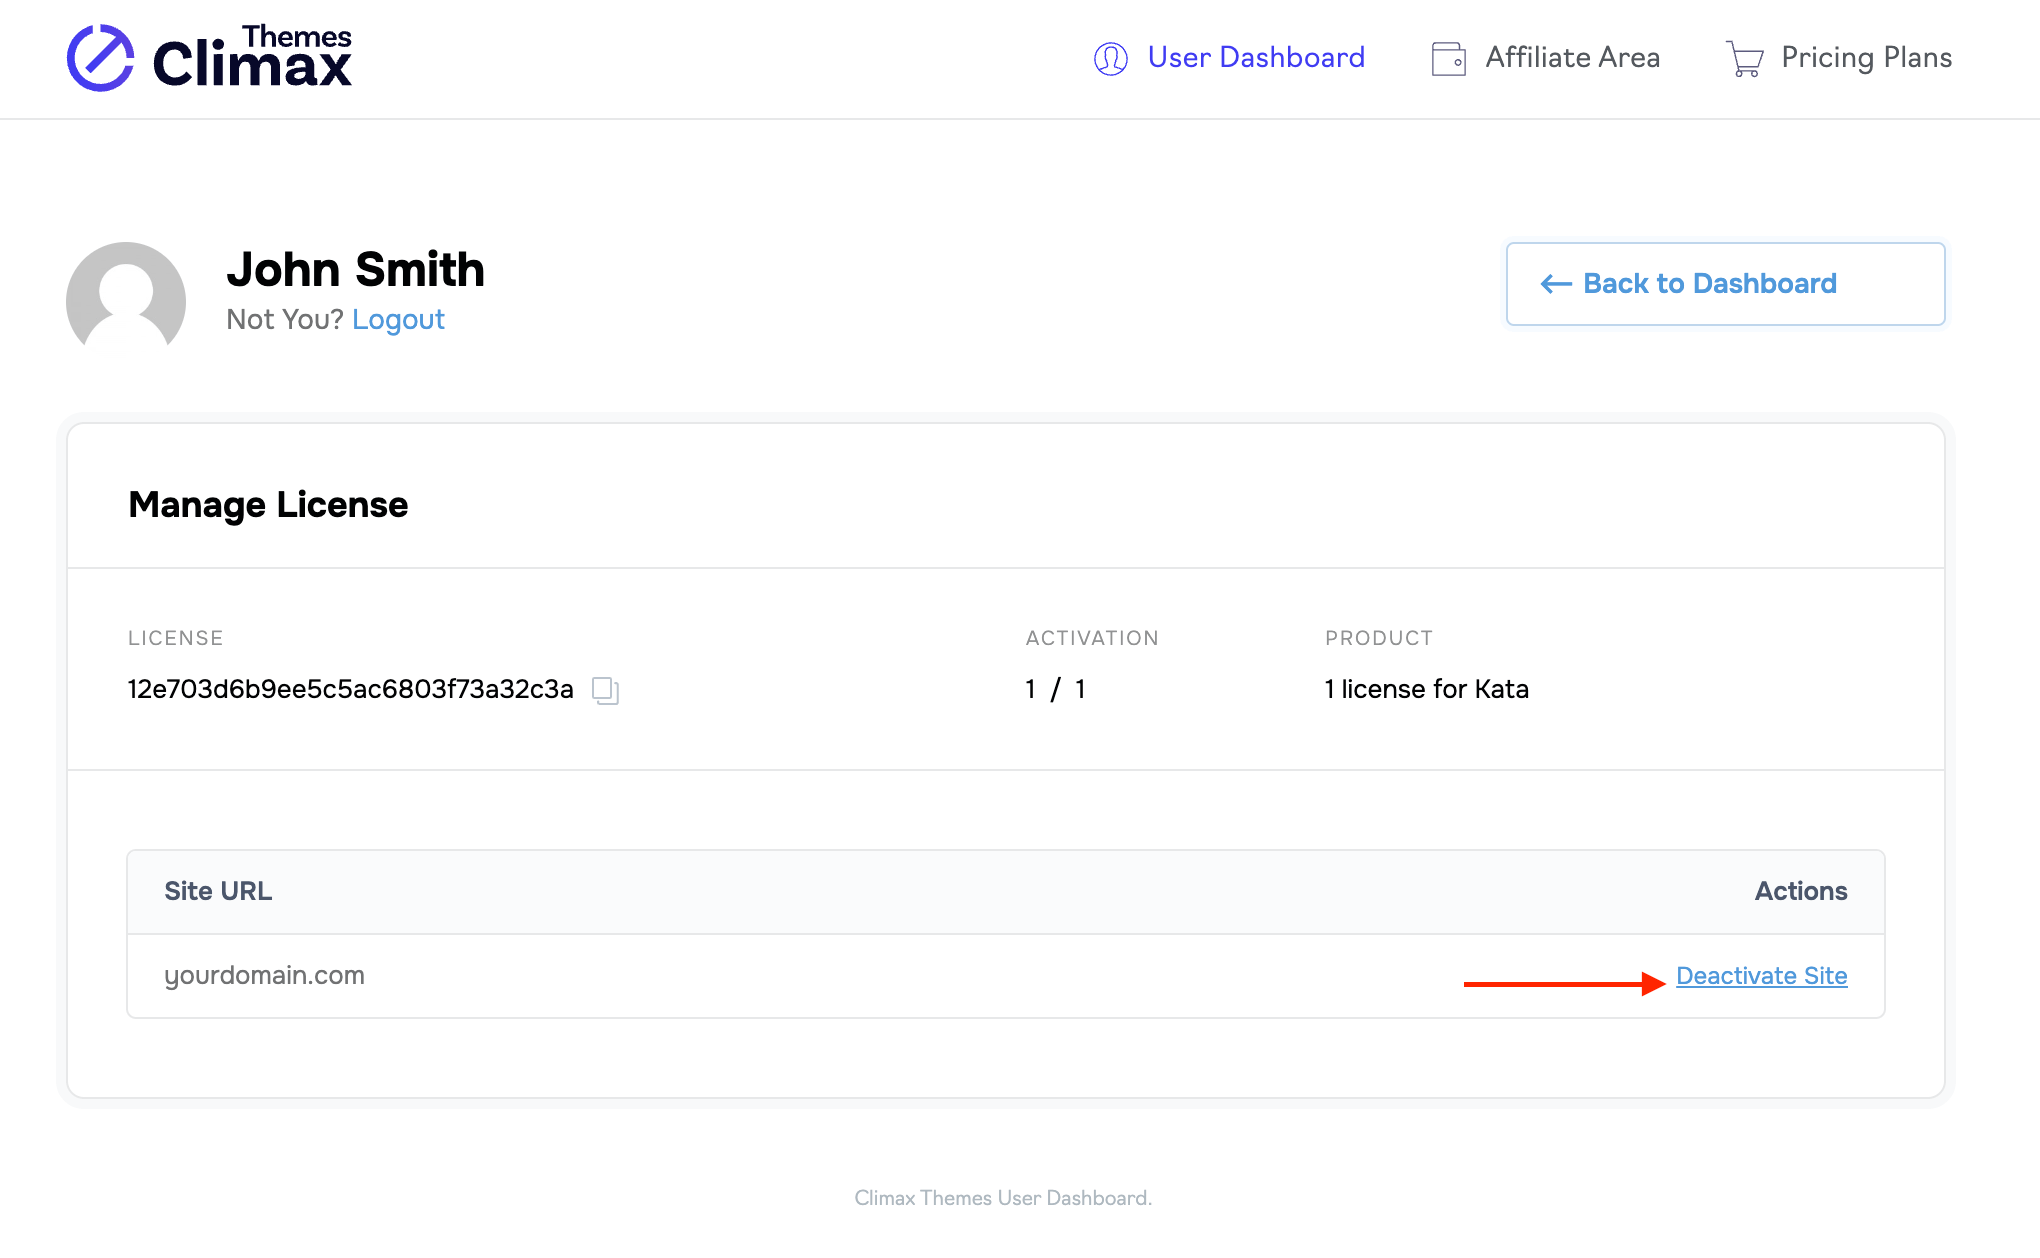
In order to manage your license or use it on another domain, log in to your Webnus Dashboard and hit the Manage Sites button.

On this page, click on the Deactivate Site link. Now, your license has been revoked, and you will be able to use it on another domain by going through the activation process again.
 Also, you can enter your preferred domain to activate the license in the Add New Site input field and click on the Add Site button.