9 Killer Tips for Filming and Editing Marketing Videos
People are watching videos more than ever.
Why shouldn’t they? Video content is easier to consume, they are more engaging and personal as compared to other forms. Moreover, it’s easily available.
The growth in the online video platforms has made it easy for netizens to access videos from any part of the world.
However, it’s not just the viewers who have benefited from such an outburst in the growth of the online video market.
Companies and marketers have identified this glorious opportunity for reaching out to their target audience. 86% of the companies are using videos as a marketing tool, and 92% of the marketers admit that video is an important part of their marketing strategy.
Types of Marketing Videos
If you had been ruminating on the idea of creating marketing videos, then now is the time to act on it.
The market is hot, the viewers are ready, and there is a tremendous opportunity waiting for you. But, before you get all excited and jump on the bandwagon, it’s important that you also know what are the different types of marketing videos that businesses create.
Marketing video is a great tool for storytelling. And, stories can be said in different ways. Similarly, you can create videos in different ways depending on your marketing objective.
Here’s a list of five types of videos that are most-commonly created for marketing purposes:
- Explainer video
- Live video
- Event videos
- Infomercials
- Customer testimonials
The list is not exhaustive. There are many other types of videos like product demo video, etc, but mentioning all of them here will bury the lede. So, here’s a comprehensive list of 36 types of videos that every business should consider.
As we have an understanding of the market, and different types of marketing videos, let’s talk about the top tips that you should follow for making and editing marketing videos.
Get Started with Storyboarding

A storyboard is like the blueprint of your marketing video.
Storyboarding is laying down different facets of the scene like how the camera should move, where should the light focus, what sound should be used to support the dialogue delivery, and more.
Creating a video takes time and costs a good amount of money.
Therefore, before you even start setting up the camera and lights, create a storyboard so that you don’t end up spending a lot of resources.
You can create a storyboard with the help of sketches, an animation video, or anything that works for your team.
The idea here is to create a resource that clearly tells you how to shoot the video before actually shooting the video.
This was just an overview here’s a complete guide on how to create storyboards for marketing videos.
Decide the Video Length

The attention span of humans is depleting. If you’re planning to create a marathon marketing video, then hold that idea right there.
It’s understandable that you want to create a marketing video that does total justice to every single feature in your product, but that might actually work otherwise.
There is a direct relationship between viewer engagement and video length.
For a 4-6 minute video, only 46% of the viewers remain engaged till the end. For 1-minute videos, it’s 68% whereas, for videos more than 20 minutes, the engagement rate drops drastically to 25%.
Depending on the audience you’re trying to target, these numbers can be a great guide for you to understand where your sweet spot lies.
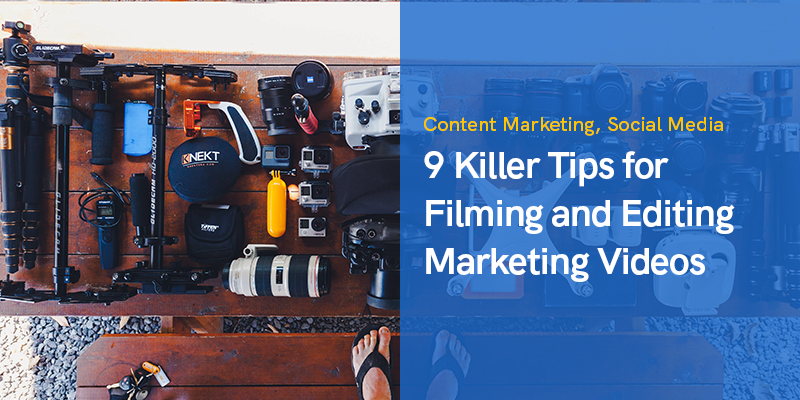
Have an Equipment List

You cannot create a marketing video without having the right equipment.
On the other hand, having too many equipment can overthrow your budget limit. When you have an exact idea about the number of equipment you can avoid delays, and keep your budget in check too.
So before you call out “action,” consult your production manager, and your crew to create a checklist of equipment .
While you do that, ensure that you use in-house video making equipment . If your company has created similar videos in the past, then it will be wise to check the internal resources.
If you’re totally new to video making and working on your own, then this article will help you to get started. In this article, you’ll find a list of video equipment based on different budget range.
Use the Rule of Thirds

Have you ever seen those grid lines appearing on your phone camera?
The vertical and horizontal lines in a criss-cross pattern making nine small boxes on the screen.
These grid lines are very useful for shooting videos, and for using the rule of thirds.
The Rule of Thirds is video making 101. It’s a simple rule of aligning the subject and other crucial element in the video with the grid lines.
The grid lines are the places where viewers pay the maximum attention. By this placement, you increase the chances of keeping the viewers glued to the screen.
If you’re shooting a product overview video, you can place the product at the intersection points, so that you don’t have to struggle to demand the viewer’s attention.
Similarly, if you have a subject and an object in your marketing video, you can split the screen in three sections so that you can give equal emphasis to all the elements in the video.
Set the Right Background

The last thing you must be wanting in your marketing video is a cluttered office desk in the background or an obnoxious looking color that hurts the eyes of the viewers.
Your video background plays a pivotal role in the success of your marketing video.
One of the best ways of setting the background for a video is by aligning it with the content.
For instance, if you’re shooting a customer testimonial video, then keeping the client office in the background can be very appealing for the viewers. It will make it look more real and aesthetic.
For explainer videos, whiteboard backgrounds can be a great choice. Here, using any other color background can make the viewer miss out on important information.
There are many ways and ideas of selecting a background for the video. This Wistia blog does great justice to this topic, and it is a must-read.
Get the Lighting Right

Too much or too little of light in a video can ruin your entire effort.
Getting the dynamics of lighting right will propel the quality of your video and the experience of the viewer.
However, it’s easier said than done. Lighting is a complex subject, and to ace it, there are a couple of points that has to be considered.
Check for Natural Lighting
If you have access to natural light, then that’s the best thing for your video. Use it to your advantage like shooting most of the scenes when the natural light is available or moving the subject near to the natural light for clear exposure
Avoid Shadows
This is one of the most common mistakes committed by beginners. A shadow in a video can distract the viewer.
To avoid shadows, you can use the natural light in the background, and an additional source of light from the front.
This will balance the lighting and keep the video clear.
Set-Up Three-Point Lighting
This particular technique entails using three different lighting sources – key light, fill light, and backlight.
The Key Light – Key light is the principal source of light, and being the brightest it plays the lead role in this arrangement. If the subject is at the center of the clock, the camera at six, then the key light is placed at four.
The Fill Light – Key light has the tendency to cast a shadow on the other side of the subject. To avoid that, a fill light is placed at eight. The intensity of this light is almost half of the key light but not so low that it underexposes the subject.
The Backlight – The backlight is placed at one. The role of the backlight is to differentiate the subject from the background. Usually, this light is of high intensity to avoid creating shadows that can be visible in the camera.
Be Organized

At the editing stage, a lot of time is spent watching, and joining the right clips together, and discarding the unwanted ones.
This is the job of every online video editor, and it certainly takes a lot of time. However, a simple technique can be followed to make the job easier and less time-consuming.
And, that technique is to be more organized.
If you have multiple clips of different scenes, and if all of them are dumped in the same folder, then you’re making your editor’s life a mess. Instead, label the clips, and put them in different folders.
This makes it very convenient to search for the right video. You can go a further step ahead, and add music and images that you plan to use at different scenes.
Limit Special Effects

In the post-production phase, when you’re raw video is in the editing table, you might be tempted to add a lot of transitions, and special effects to make it look interesting.
In some cases, it might work, but in most of them, it can take the viewer’s attention away from the content.
If you have worked hard on the script and have a great story to tell, adding simple transition effects can be of great help. Having a reasonable mix of Jump Cut, and Cross dissolve transition effects is probably all you need to make your video special.
If these terms are foreign to you, then check out this blog on 9 essential video transition effects.
Look out For Colors

Color in marketing videos plays a very subtle role. If it’s done right, the viewer doesn’t notice it much.
However, a slight variation can create a tinkle in the viewer’s mind. There are two major color aspects that have to be done right while editing the video – color correction and color grading.
In color correction, you ensure that every shot is using the same color range. Apart from that you also need to check on the contrast and white balance.
Color grading is more subjective editing. Unlike color correction, color grading can be used to depict emotion in the video or a contrasting scenario. An apt color grading can add a lot of emphasis to the scene and can help you to communicate your story more effectively.
Final Note
Marketing videos are hip right now.
If you’re planning to create one for your brand, then that’s a great decision. However, there are few pointers that have to be given importance while planning the entire activity of making a video.
Even before you get to the production make sure that you have the storyboard ready. This will give you a great direction, and help you to be more prepared.
Once the storyboard is ready, decide on the video length, and the equipment you need to shoot the video. This will keep you on a timeline, and avoid doing a lot of back and forth.
While shooting the video, use the classic Rule of Thirds, choose the right background, and set the right lighting arrangements.
These basic points will help you to communicate your content more clearly, and rest assured that your viewers will engage with the content for a long time.
Before you come to the editing phase, have a repository of all the clips arranged and organized in a way that it’s easy for the editor to pick the right file, and work on it.
When you have done that, add transitions but in a reasonable manner, and check for color correction. To achieve this, you need a video intro maker to help you create amazing video introductions to keep your audience watching till the end.
If your content demands some special color effects, then try your hands-on color grading as well.
This blog, by no means, is an exhaustive list. There are multiple tips for making and editing marketing videos, but these nine tips are the ones that you cannot afford to miss.
Recommended Posts

What Is Inbound Marketing and Why Is It Important in 2023?
April 14, 2023


10 Best Blogging Platforms for 2023
January 19, 2023
