Ticket and Invoice App
This documentation is outdated and applies only to the old Ticket and Invoice app (versions below 2.0.0).
As of version 2.0.0, the app has been completely rebranded and upgraded to MEC Events. To connect the MEC Events app with your WordPress website, you now need to install the MEC Utility addon.
Please follow the updated guide here: MEC Utility Documentation.
We highly recommend updating to MEC Events to enjoy the latest features and improvements. Documentation and support for the old Ticket and Invoice app will be discontinued on November 15, 2025.
Upon purchasing the Ticket and Invoice Addon, you will be granted access to the Ticket and Invoice App. This app enables users to scan, check-in, and check out tickets.
Activating the Ticket and Invoice App
After installing the Ticket and Invoice Addon, you will see a new submenu called API Key for App under MEC Invoices in your WordPress dashboard. You will receive an API Key that links your Ticket and Invoice Addon to the application by clicking on it.
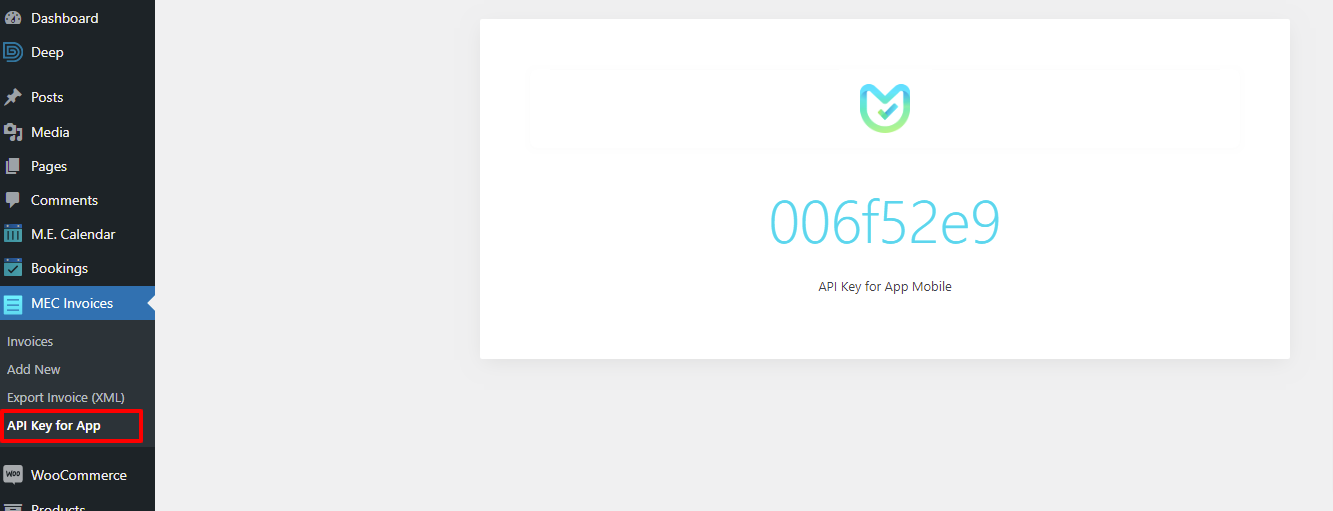
To access the application, you must have the API Key and the website URL where the Ticket and Invoice Addon is installed. Please input these details when logging in.
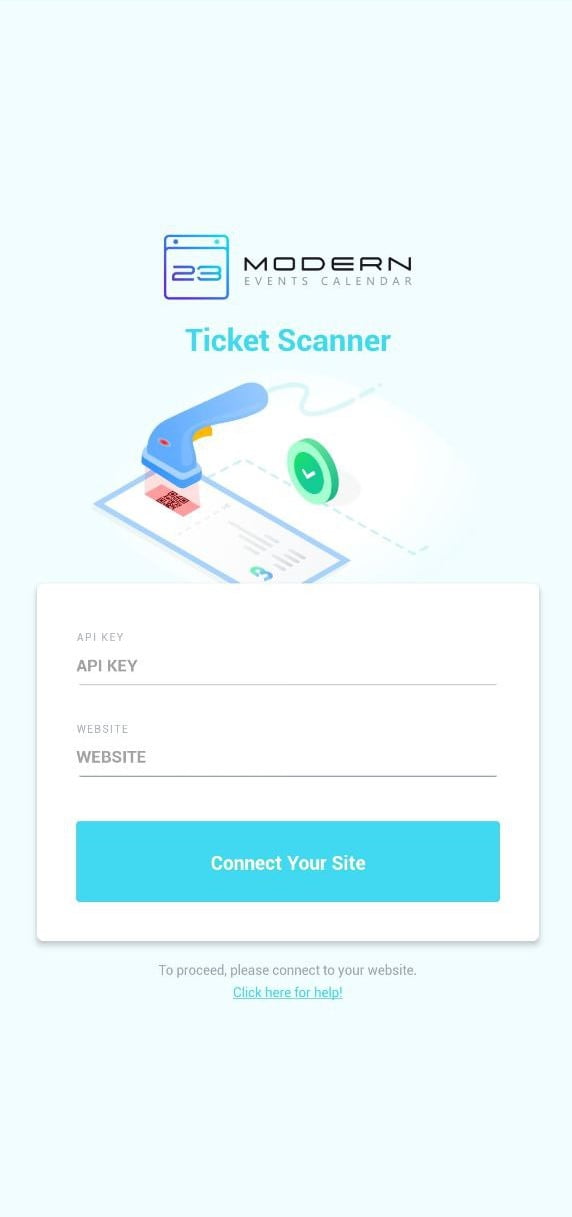
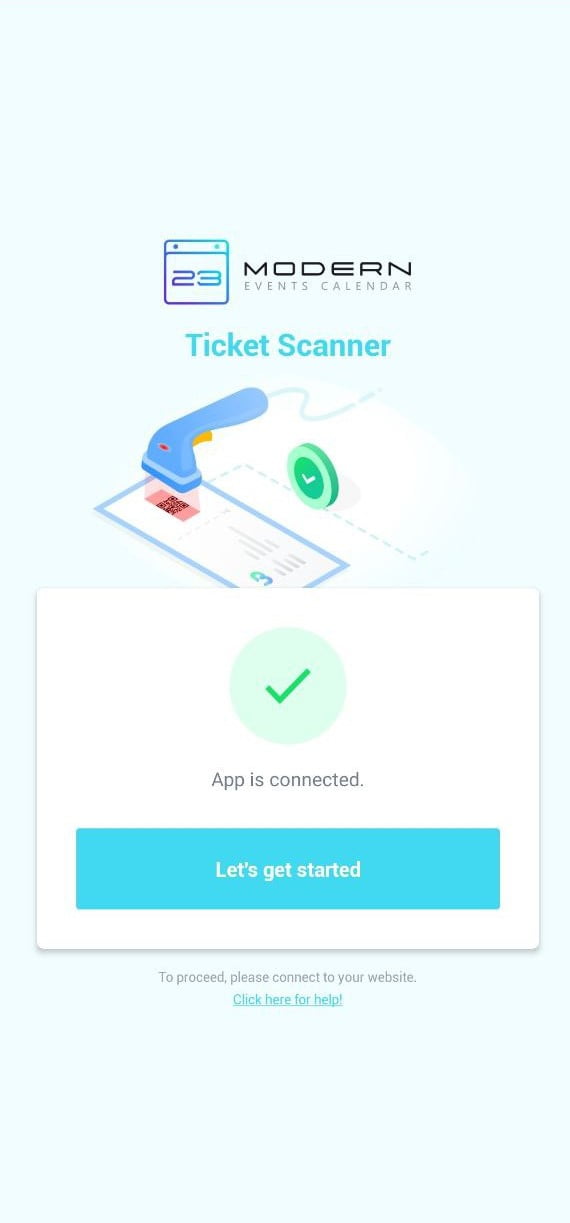
After entering the API Key and the website URL, tap on Connect Your Site. Once the app is connected, tap on Let’s Get Started.
Checking-in Settings
At the bottom of the screen, there are three options: Lists, Scan, and Settings. Within the Lists menu, there are two sections. The first section is Today’s Events, which shows events happening on the current day. The second section is All Events, which displays a complete list of all events and the attendees for each one. You can also choose a specific date using the Select Date option to view events for only that date.
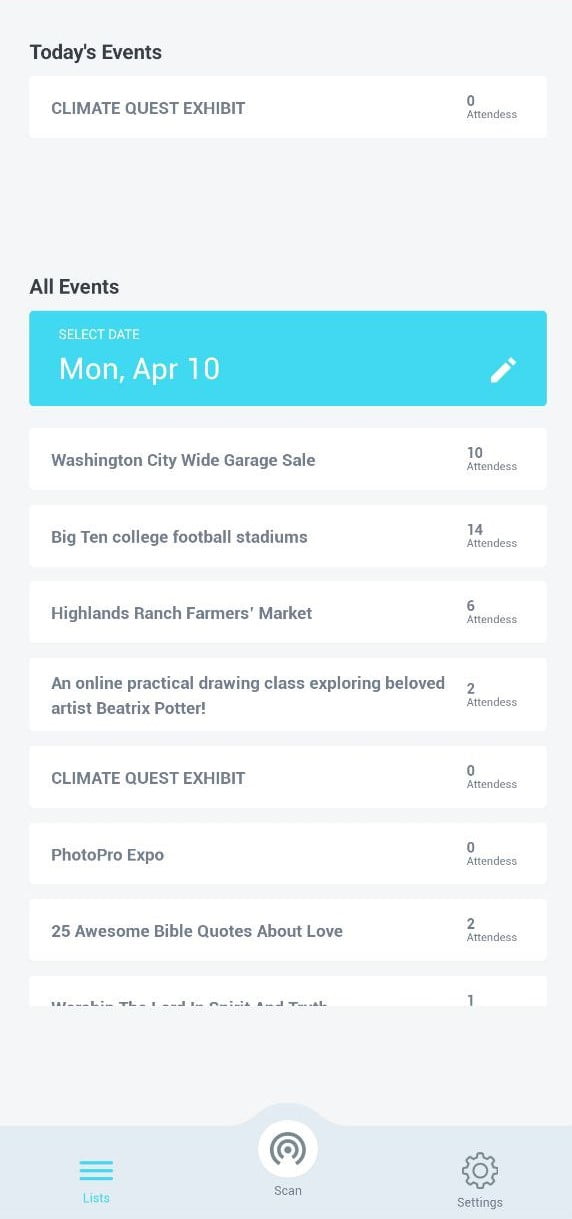
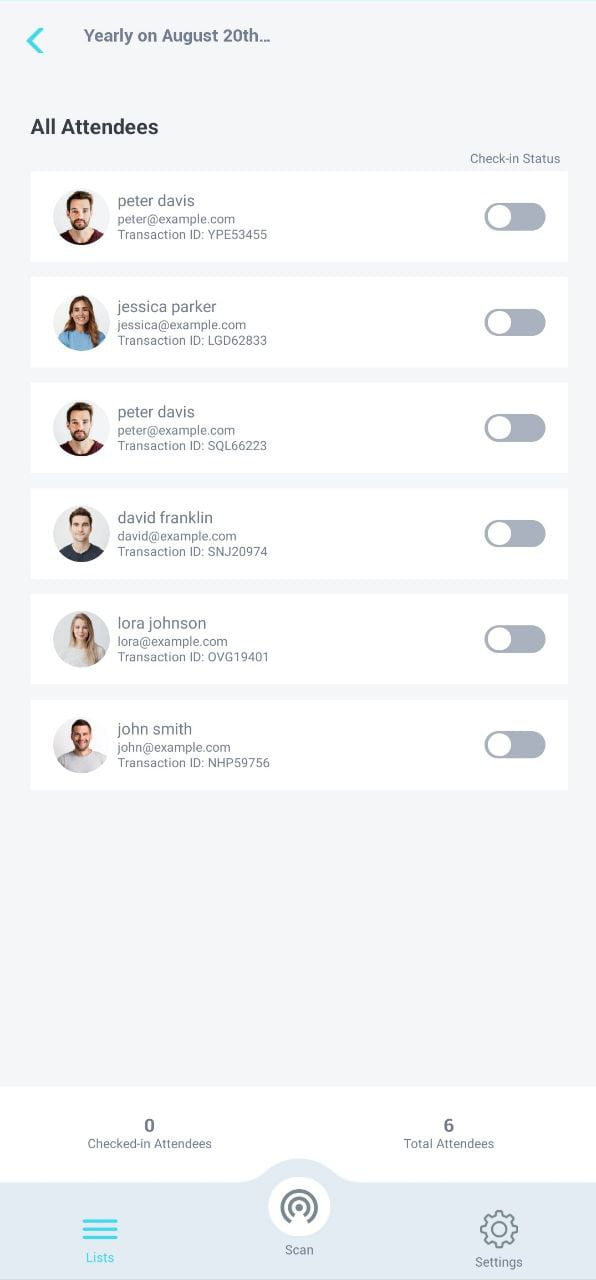
To view the attendees who have booked an event, simply click on the event. You can then activate any ticket by selecting the checkbox next to each attendee’s name in the Check-In Status section.
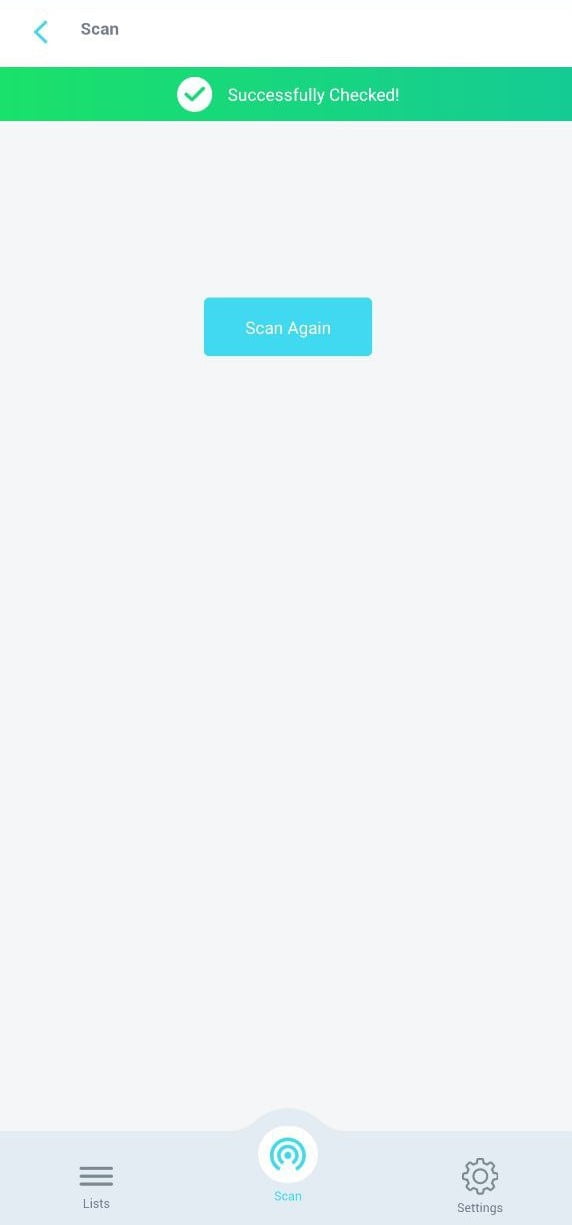
With the Scan feature, you can use your mobile phone camera to scan the ticket QR code. Once the scan is successful, a message stating Successfully Checked! will appear, and the Check-In Status for the event will become active.
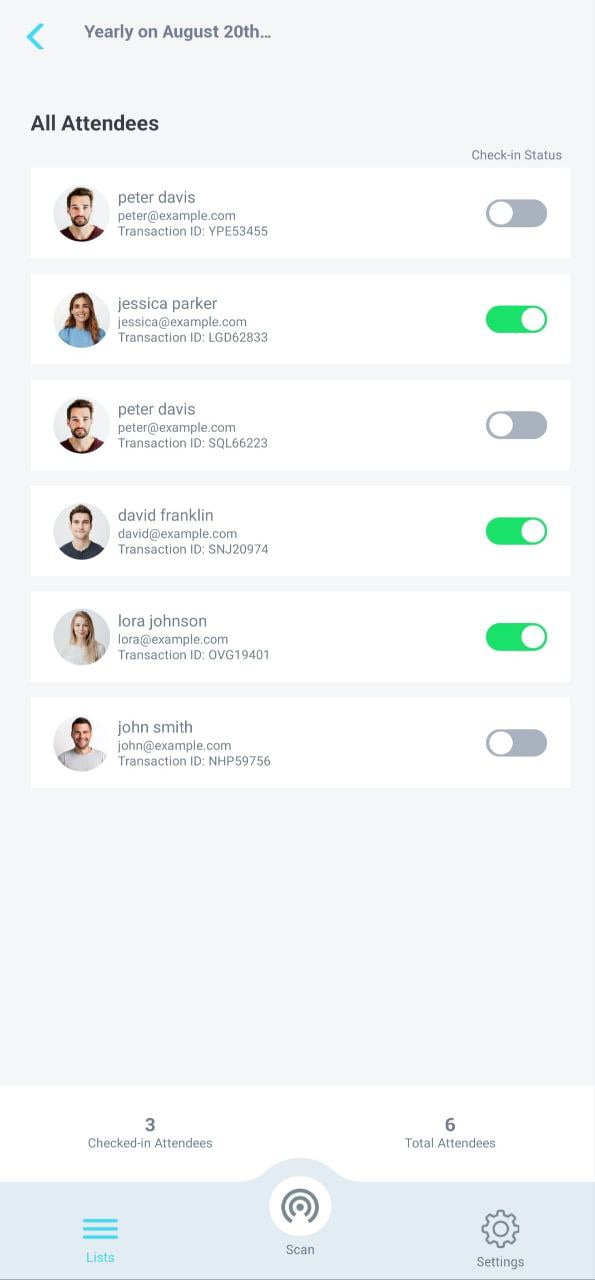
Once the Check-In Status is activated through manual scanning or the QR code, your ticket’s status will update to checked-in. You can view this change on the MEC Invoices page, and the ticket’s checkbox will automatically turn green.
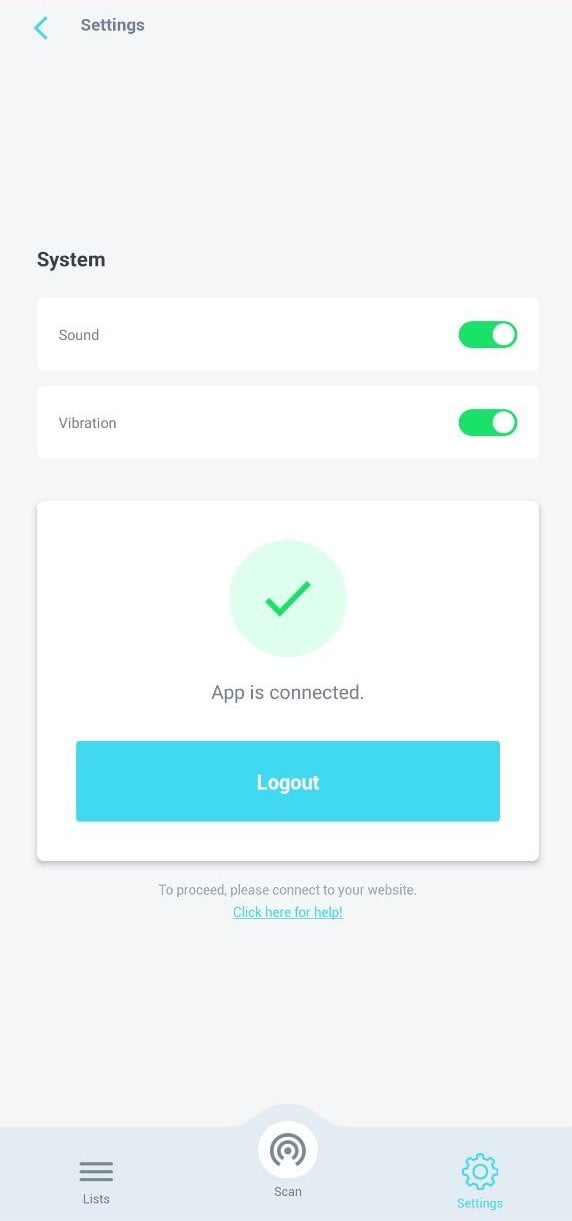
Within the Settings section, there exist two distinct options: Sound and Vibration. By enabling them, you will receive notifications following any activation. If you wish to leave the application, simply press the Logout button.
Report Out Dated Content
If you think the content of this page does not reflect updated information, please let us know.