Installation
Here you will learn how to install Modern Events Calendar. For the Installation of Modern Event Calendar, you need to log into your webnus.net account, and from there you can upload the MEC plugin in two ways.
How to Install Modern Events Calendar Lite?

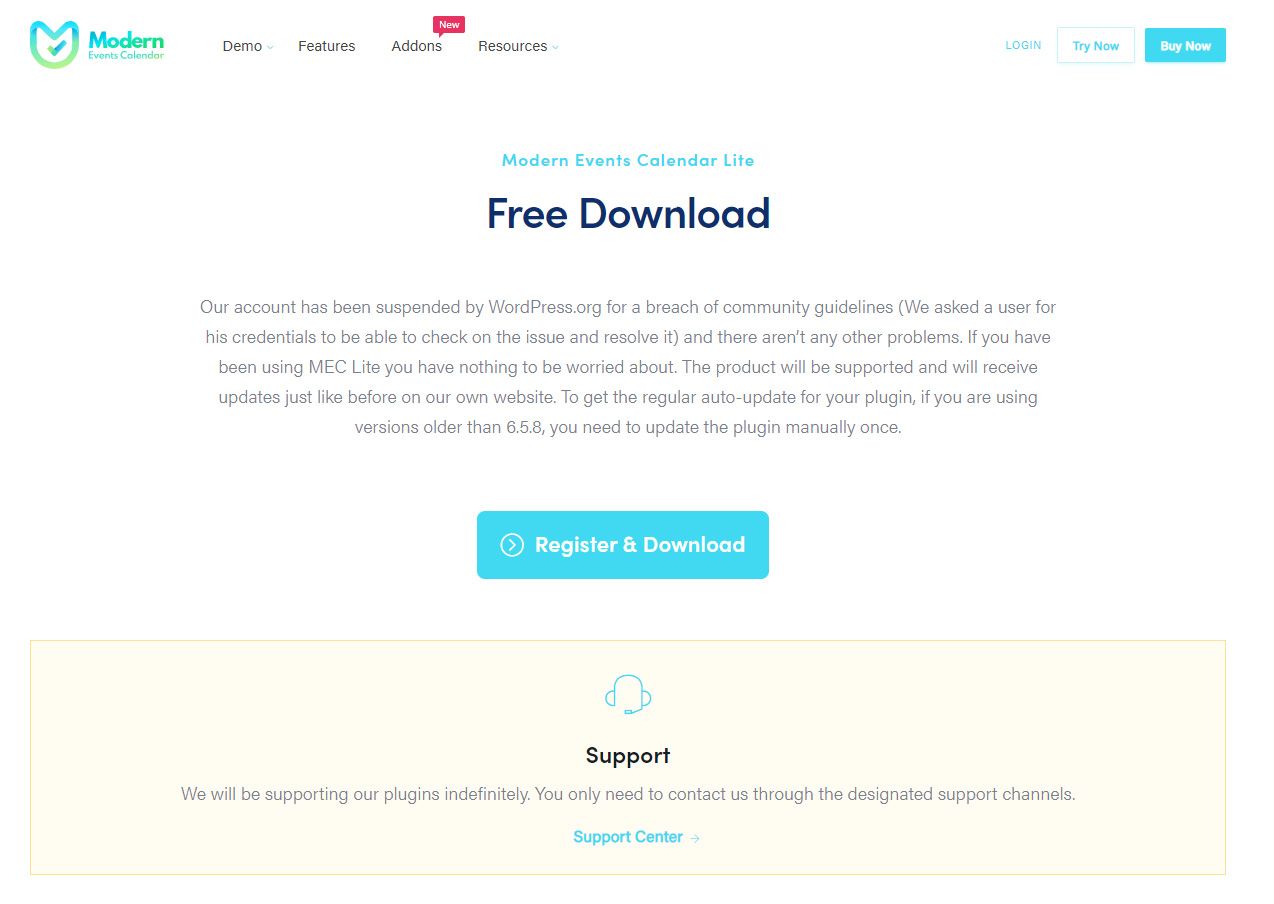
In order to install MEC Lite, you need to visit MEC Lite official page at Webnus and hit the “Register & Download” button (the blue one in the middle of the page).

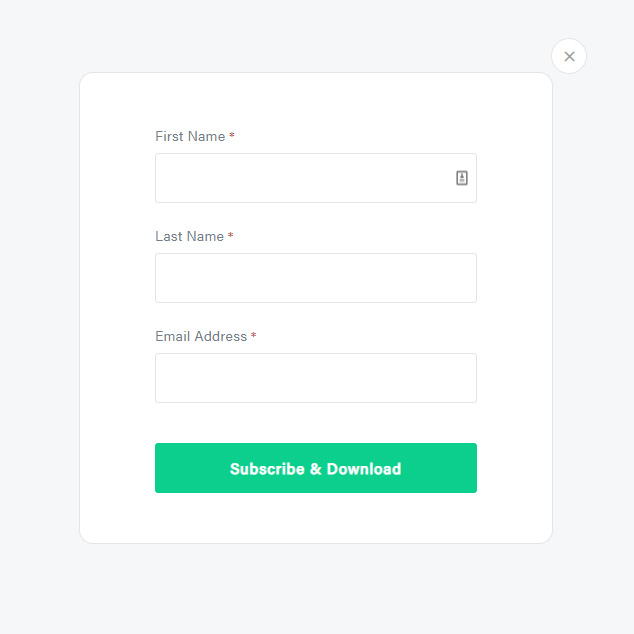
After that, you will be asked for your personal information. Fill out the required fields (First and Last Name and Email) and hit the green “Subscribe & Download” button.

After downloading the archive file, you can follow the next steps of this instruction:
Via FTP
- Unzip the “modern-events-calendar-lite_xxx.zip” or “addon_name.zip” archive file that you’ve downloaded before.
- Upload the plugin folder into “/wp-content/plugins/.”
- To activate the plugin, go to WordPress Dashboard > Plugins > Installed Plugins and click on the activate link under Modern Events Calendar Lite plugin name.
Via WordPress

- Navigate to WordPress Dashboard > Plugins > Installed Plugins.
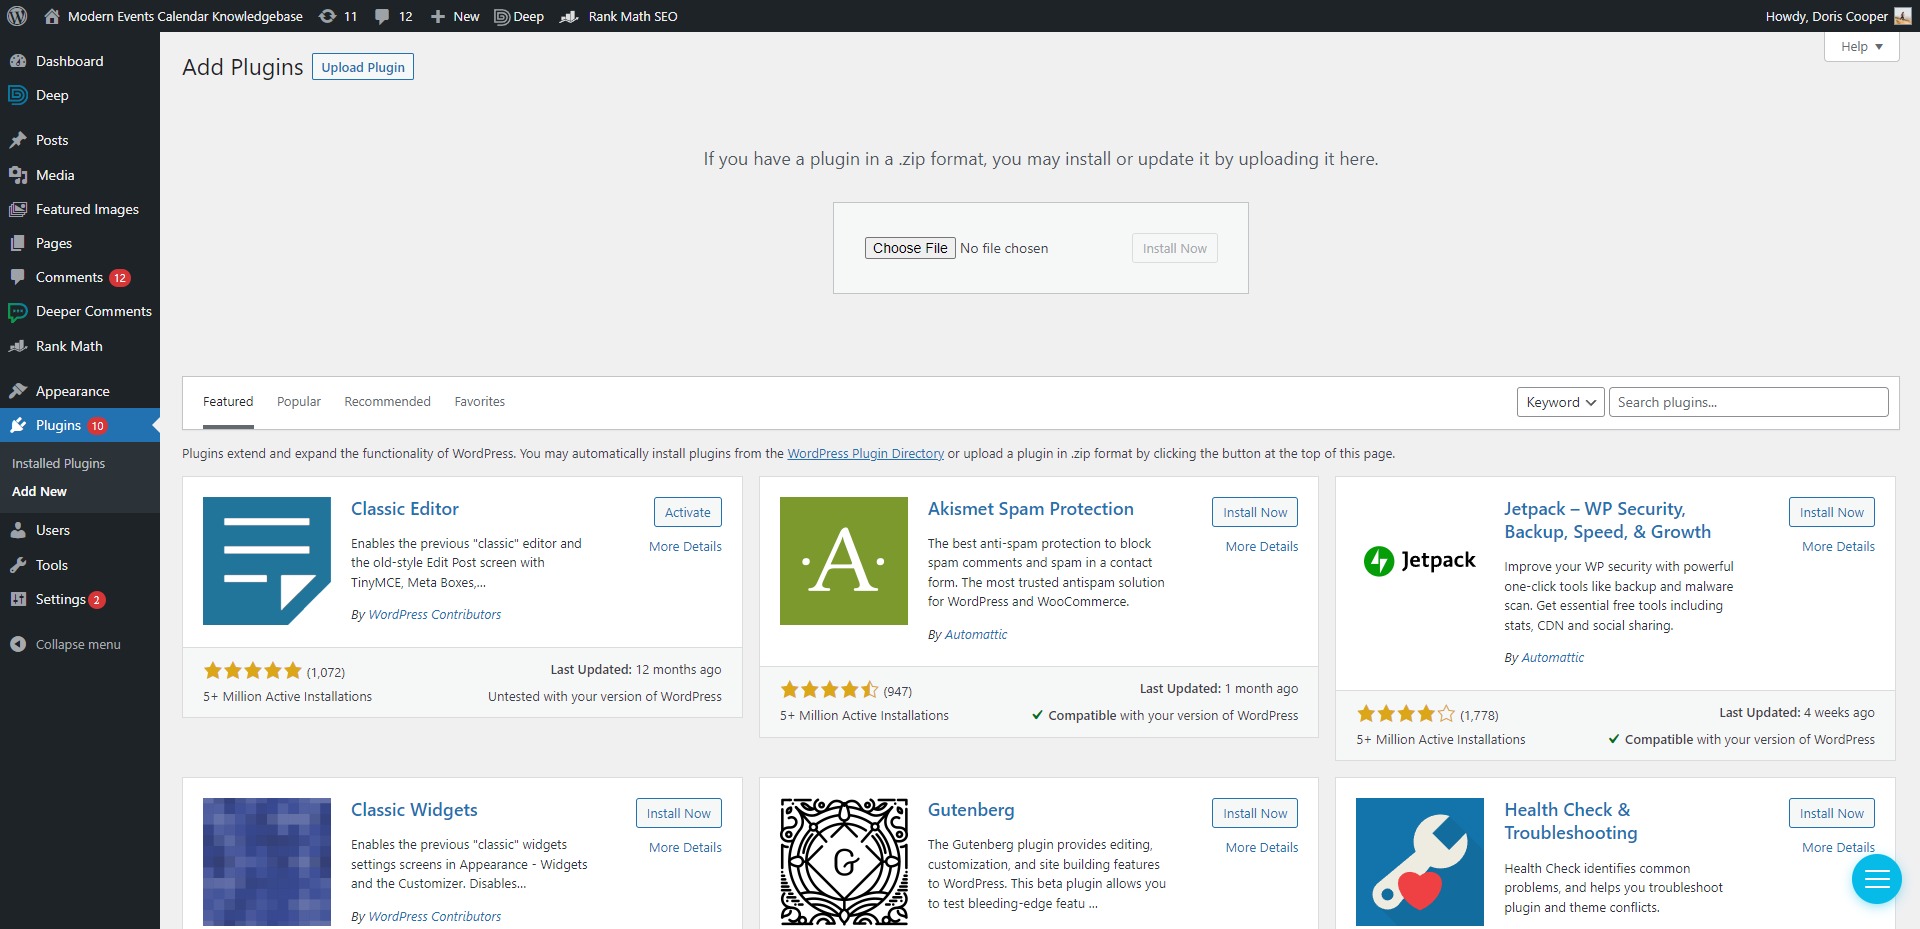
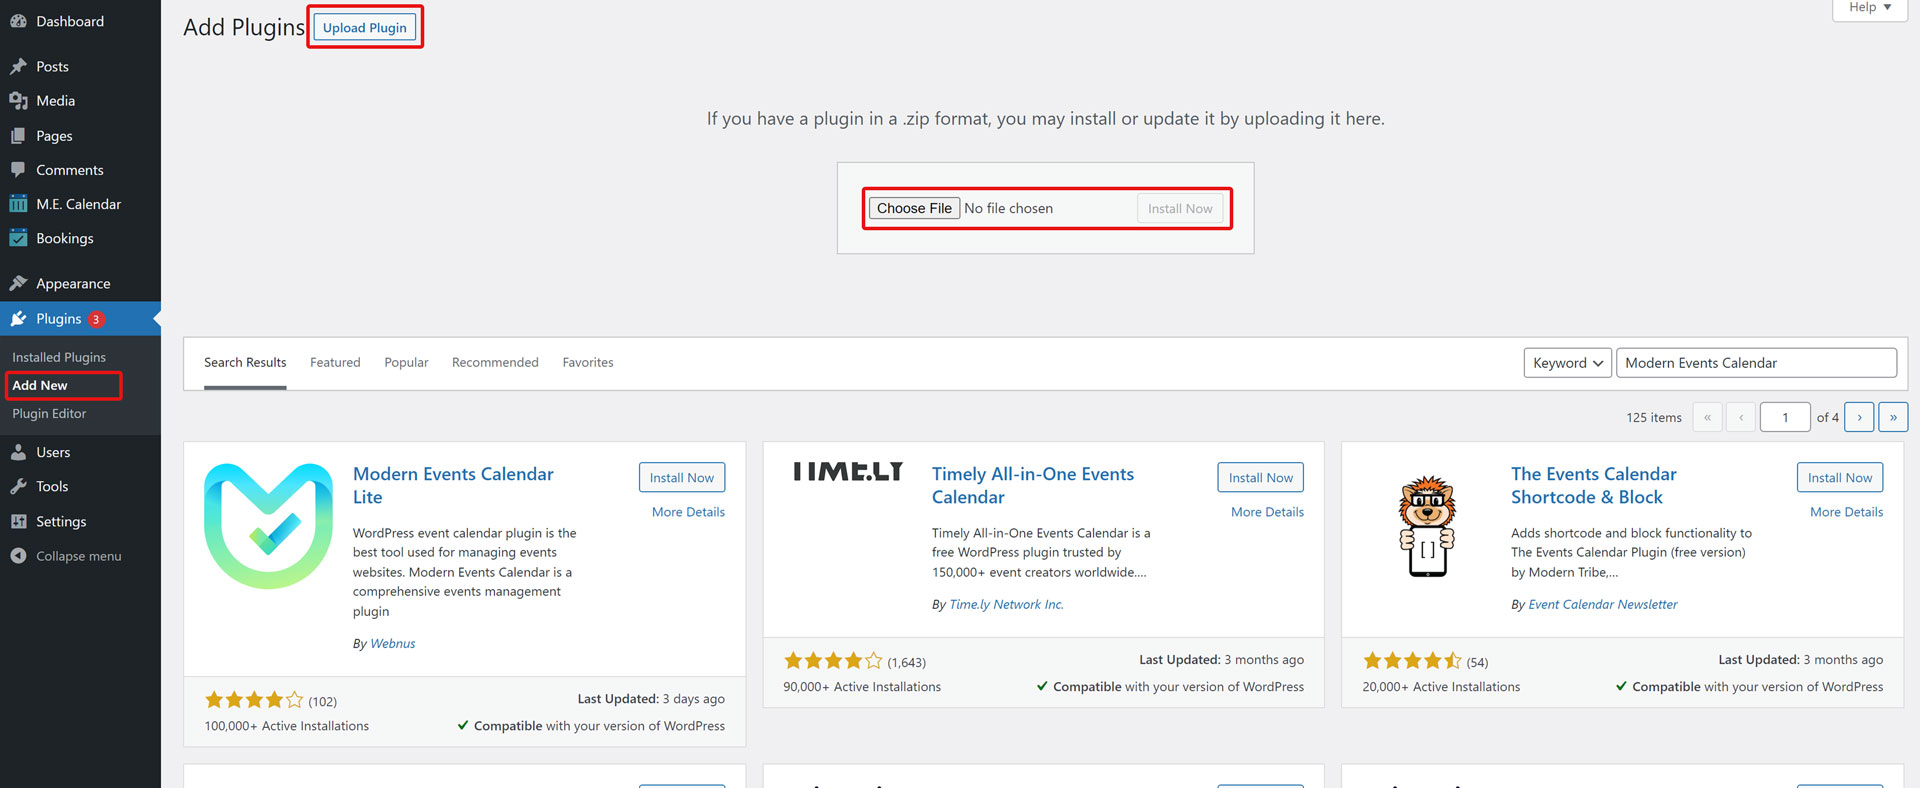
- Click Add New and then hit Upload Plugin.
- Click on Choose File and browse for “modern-events-calendar-lite_xxx.zip” or “addon_name.zip” on your computer, then click Install Now.
- The plugin will be uploaded and installed.
- To activate MEC, go to Plugins > Installed Plugins and click on the activate link under the Modern Events Calendar Lite plugin name.
How to Install Modern Events Calendar Pro?
In order to install MEC Pro on your WordPress website, you need to download the plugin archive file from your Webnus dashboard.
To do that, you need to log in to your Webnus account and navigate to the Downloads tab in your dashboard area.
To download the latest version of the Modern Events Calendar Pro plugin, click on the blue button in front of your license title (i.e., 1 License for MEC Plugin) or your addon name (i.e., Fluent-view Layouts). Your download should begin any second now.
After that, you need to go to the Licenses tab. You can see your purchased license keys there.
Select your license and copy its key. When you are ready to install the plugin, you must first upload the plugin archive file (as mentioned below) and then activate it.
There are two approaches for installing MEC on your WordPress website:
Via FTP
- Unzip the “modern-events-calendar.zip” or “addon_name.zip” archive file that you’ve downloaded before.
- Upload the plugin folder into “/wp-content/plugins/”.
- To activate the plugin, go to WordPress Dashboard > Plugins > Installed Plugins and click on activate link under Modern Events Calendar Pro plugin name.
Via WordPress

- Navigate to WordPress Dashboard > Plugins > Installed Plugins.
- Click Add New and then hit Upload Plugin.
- Click on Choose File and browse for “modern-events-calendar.zip” or “addon_name.zip” on your computer, then click Install Now.
- The plugin will be uploaded and installed.
- To activate MEC, go to Plugins > Installed Plugins and click on the activate link under the Modern Events Calendar Pro plugin name.
After installing or updating MEC, you will notice certain changes. Check this link for more information about the Activation of Modern Events Calendar.
Report Out Dated Content
If you think the content of this page does not reflect updated information, please let us know.
Hi, do I need to uninstall the Lite version before upgrading to the Pro version? If yes, how would I transfer existing events? Thanks, Christoph.
Hi,
After installing the MEC Pro, MEC Lite deactivate automatically =)